CCTV Support at Epson Philippines Corporation. CCTV Support Video. https://youtube.com/shorts/Dge7W85jeus Introduction. On April 7, 2026, at exactly 10:15 AM, the technical team from InstallersPH IT Solutions carried out a scheduled CCTV support …
Structured Cabling at Talisay Residential Property -- Progress Update.

Introduction
Structured cabling remains a foundational element in modern digital infrastructure; both in commercial buildings and increasingly in high-end residential properties. With homeowners now investing in smart technologies, surveillance systems, access points, and centralized network hubs, structured cabling offers not only performance but long-term scalability.
This article provides a detailed walkthrough of our ongoing structured cabling project at a residential property in Talisay, Cebu. Managed by the Installersph IT Solutions team, the project demonstrates a methodical approach, beginning from cable deployment to testing, labeling, and currently, data cabinet installation.
In this report, we outline each phase; highlighting key milestones, work quality, challenges addressed, and how each phase contributes to the end goal of delivering a robust and organized network system tailored for the homeowner’s needs.
Phase 1: Initial Cable Deployment – Laying the Groundwork.
The project kicked off with the team mobilizing to the site for the first progress milestone: deploying CAT6 network cables throughout the residential property. The house, which spans multiple rooms across two levels, required careful planning to ensure that every room, device zone, and key point would be adequately serviced.
To achieve this, we began with:
Site survey and mapping: Identifying exact locations for data drops such as smart TVs, Wi-Fi access points, CCTV locations, workspaces, and entertainment areas.
Preparation and bundling: CAT6 cables were organized into color-coded bundles to minimize confusion during installation. We bundled the cables using Velcro straps and PVC loops for ease of pulling and routing through the property.
Routing through conduits: Since the house was still undergoing light renovation, access to ceiling voids, wall conduits, and floor piping made cable routing more manageable. The team threaded the CAT6 bundles through predefined pathways to designated wall ports and device boxes.
Throughout the first phase, the team emphasized clean cable management. Using staples and clamps that wouldn’t damage cable sheathing, we secured bundles along ceiling corners and junction routes. Moreover, slack was purposefully left at endpoints to allow for easy terminations in the later phase.
This phase laid the foundation for the system. Proper cable routing and bundling ensured that future termination, testing, and re-routing (if needed) would be straightforward and safe.
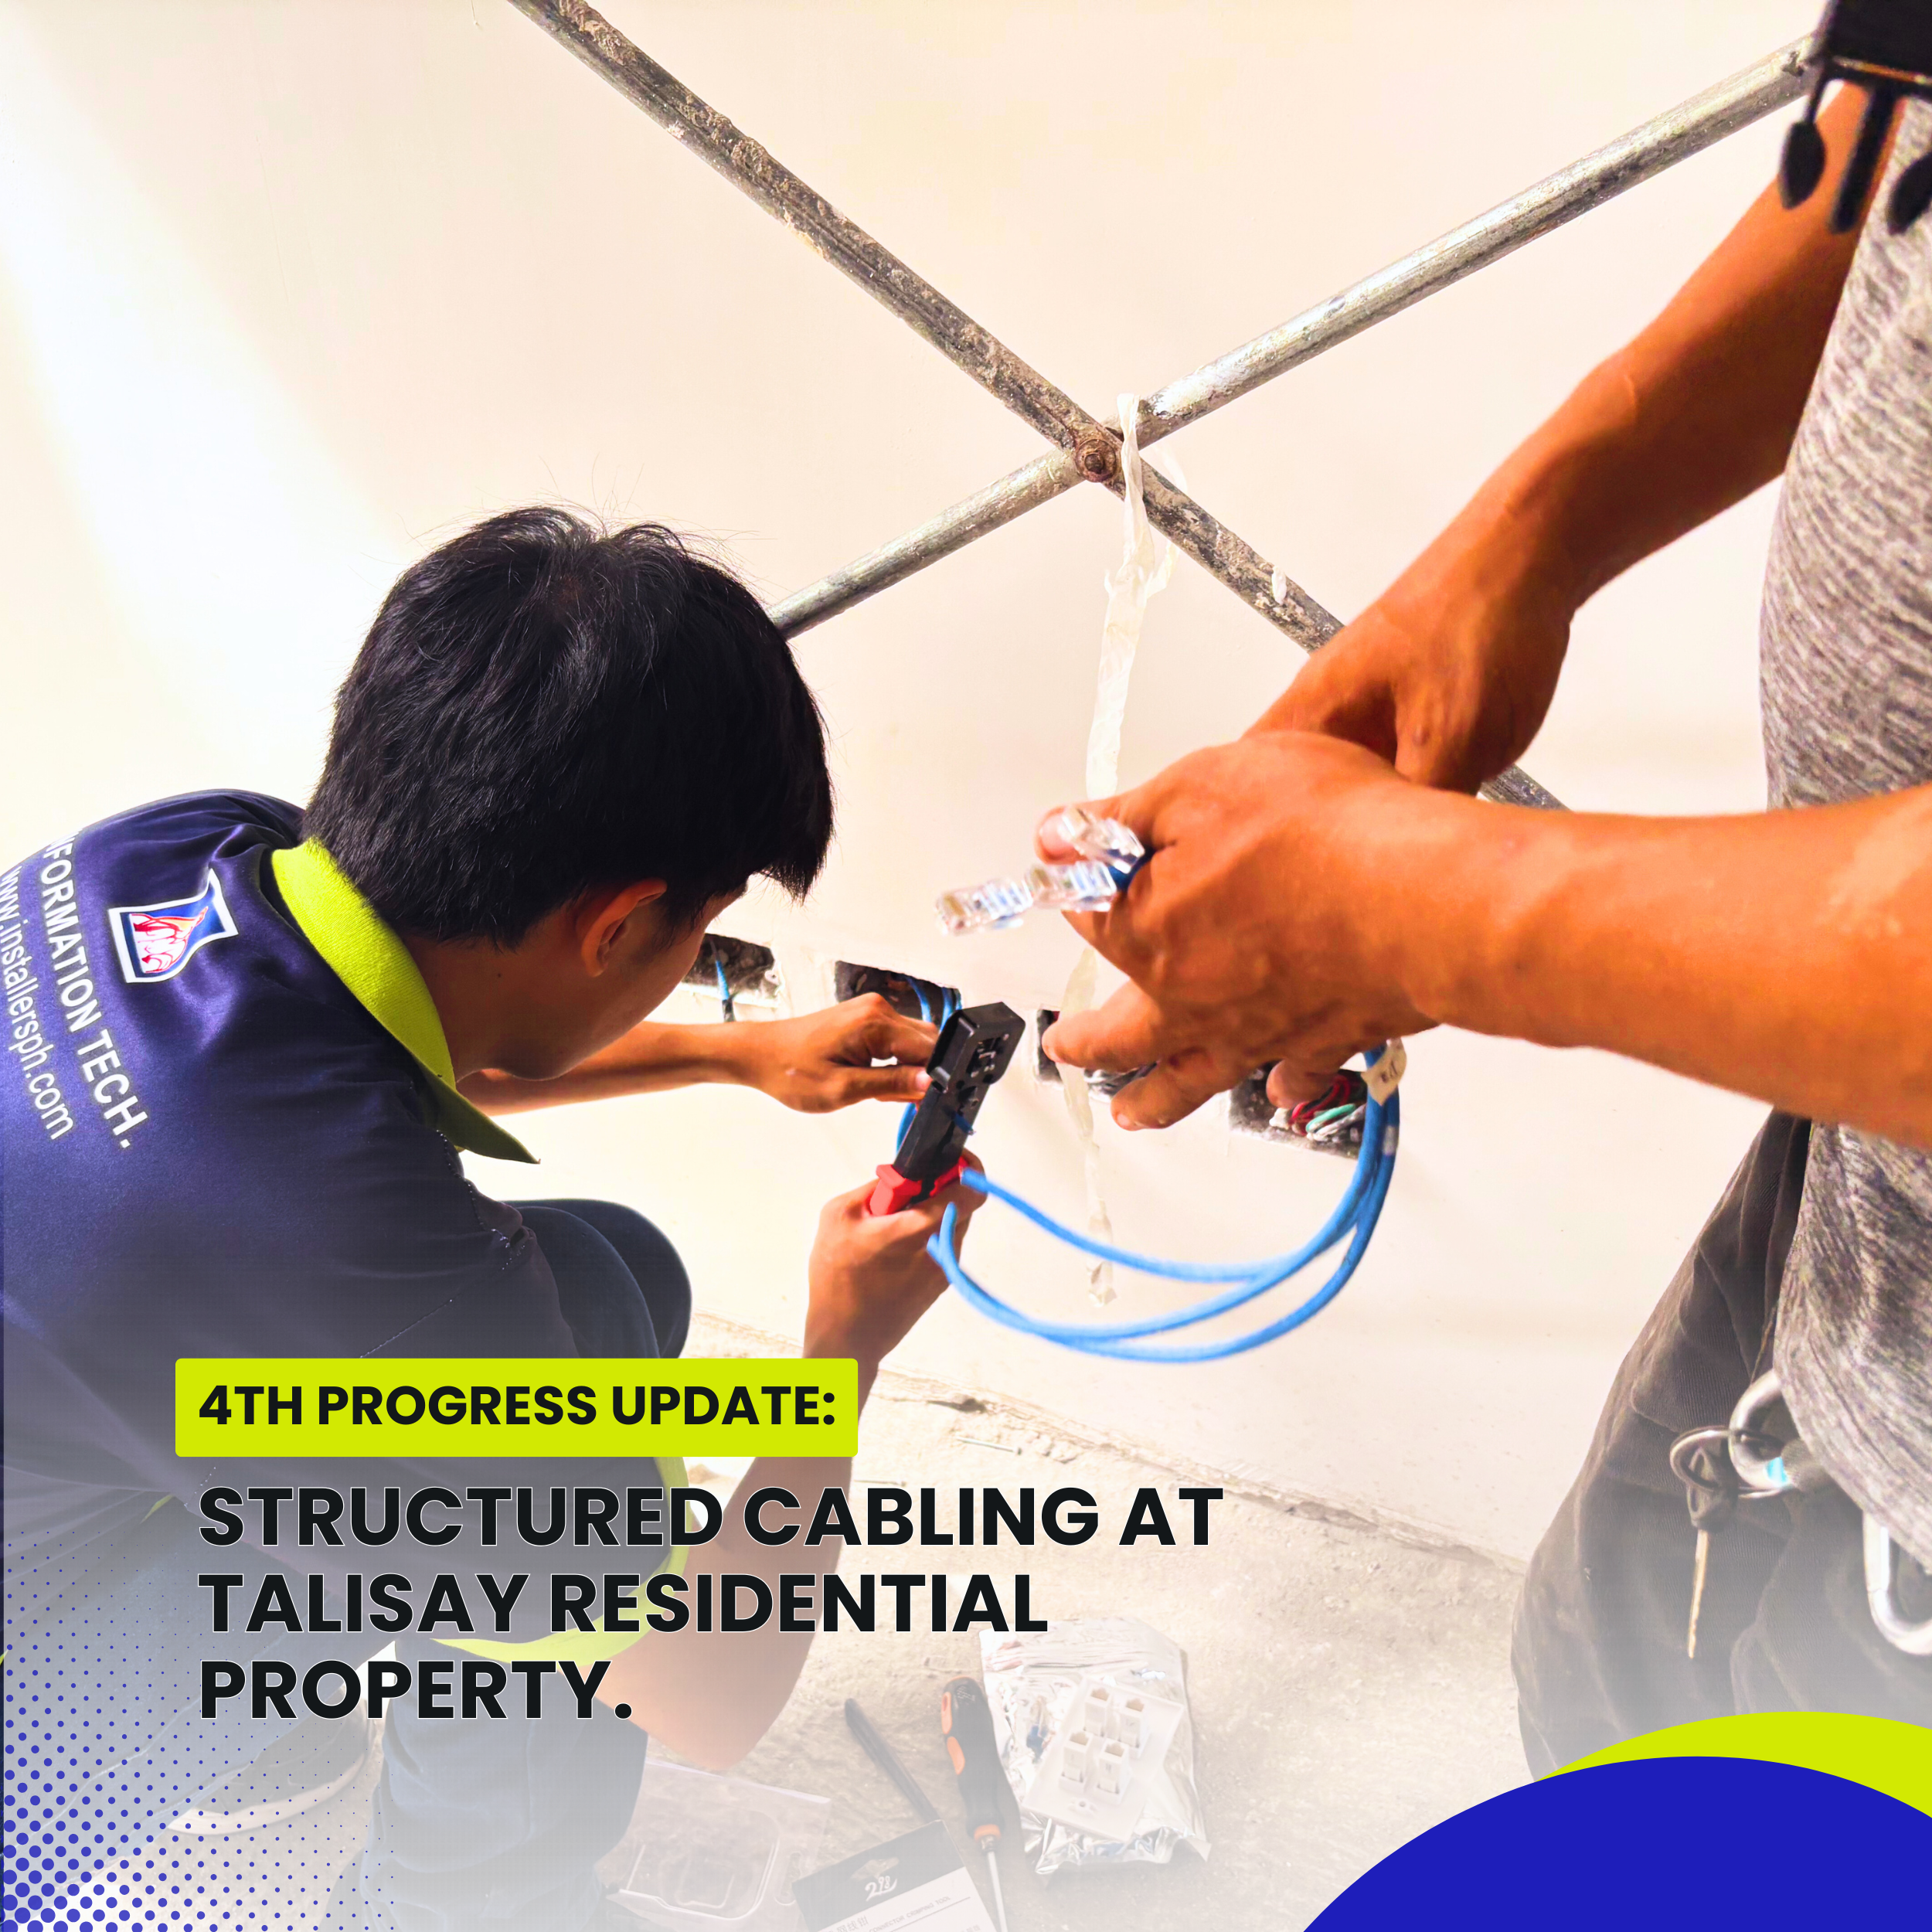
Phase 2: Termination of CAT6 Cables – Establishing Connectivity Points.
With cables routed and positioned, the second progress update began with the termination process. This critical step involved preparing the cable ends and installing keystone jacks and patch panels where necessary.
Key work accomplished:
Trimming and Stripping: Each CAT6 cable was measured and trimmed to appropriate lengths at each drop. Using precision tools, outer jackets were stripped without damaging internal wires, and twisted pairs were arranged as per T568B standard.
Punching Down: The wires were then inserted into keystone jacks using a punch-down tool, ensuring that connections were solid and error-free. For central areas, patch panels were prepared with terminated ends; ready for integration with the future cabinet setup.
Faceplates and wall boxes: In interior rooms, wall outlets were finished with labeled faceplates and color-coded keystone jacks.
Extra care was taken during termination to avoid crosstalk and performance issues. All terminations followed industry best practices to preserve signal quality and maintain gigabit-capable speeds across the entire home.
Throughout the process, team members double-checked each drop, confirming that the termination was clean, secure, and labeled temporarily for later formal identification. A documented layout of all terminated locations was also drafted.
Phase 3: Cable Testing and Labeling – Ensuring Network Readiness.
Once all terminations were completed, the third progress phase focused on testing and labeling the installed cables. This step is crucial; it ensures the entire structured cabling setup is functional, free of defects, and ready for deployment.
Our process included:
Signal and Continuity Testing: Each cable run was tested end-to-end using a professional cable tester. We checked for:
Wiremap accuracy (correct pin configuration)
Continuity (no open or short circuits)
Signal loss or attenuation
Crosstalk levels
Out of dozens of terminations, all cable runs passed the signal integrity test. Any issues discovered; such as a misaligned pair; were re-terminated and retested until certified working.
Labeling: With testing completed, each data drop was officially labeled. Using a thermal label printer, we tagged both ends of each cable with unique identifiers, which correspond to the structured cabling map and layout plan created earlier. This labeling method helps future maintenance, device connection, and expansion.
Proper labeling also extended to the patch panel side, where cables were systematically arranged based on their drop points. For instance, “Living Room Port 1,” “Office Port 2,” and “Bedroom AP1” were clearly identified both in print and digital format.
This phase marked a key quality assurance milestone. With the tested and labeled cables in place, the infrastructure was now fully prepared to be connected to a centralized networking hub; enter the data cabinet.
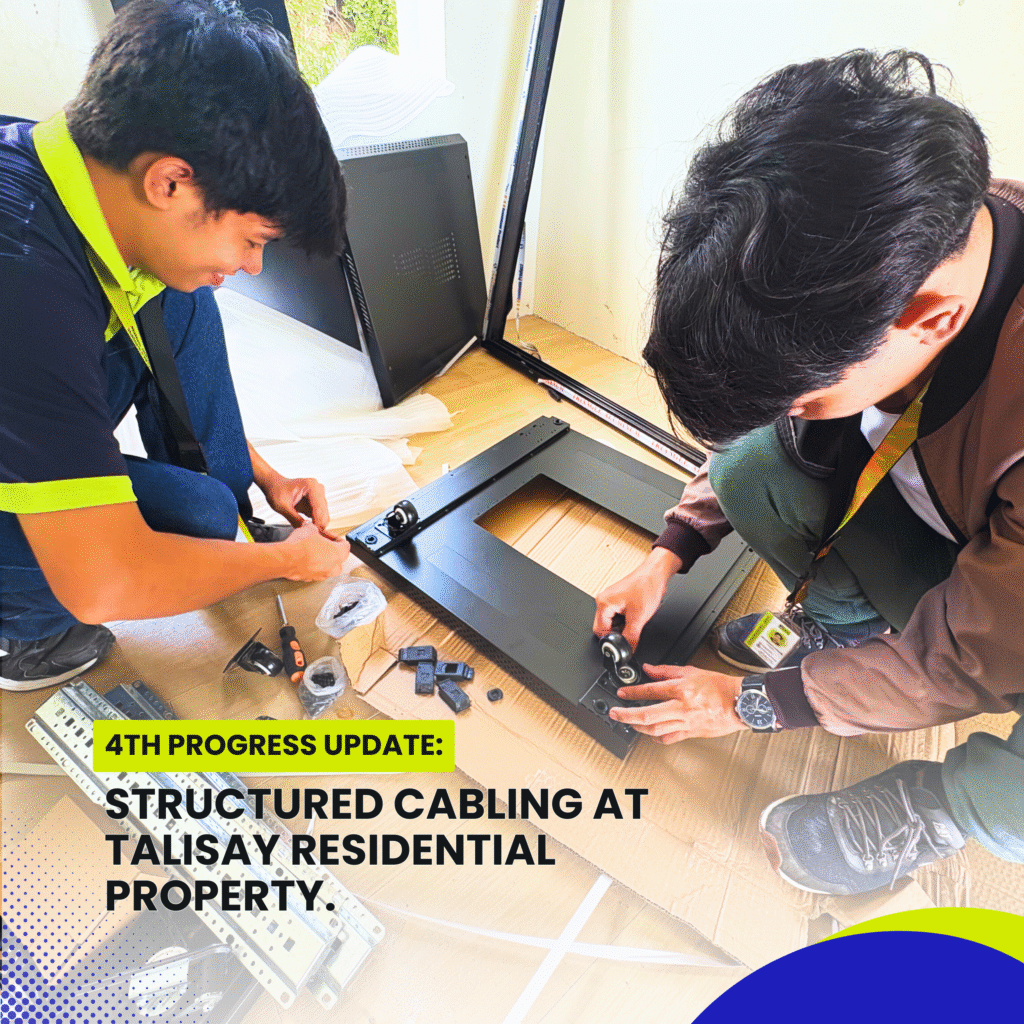
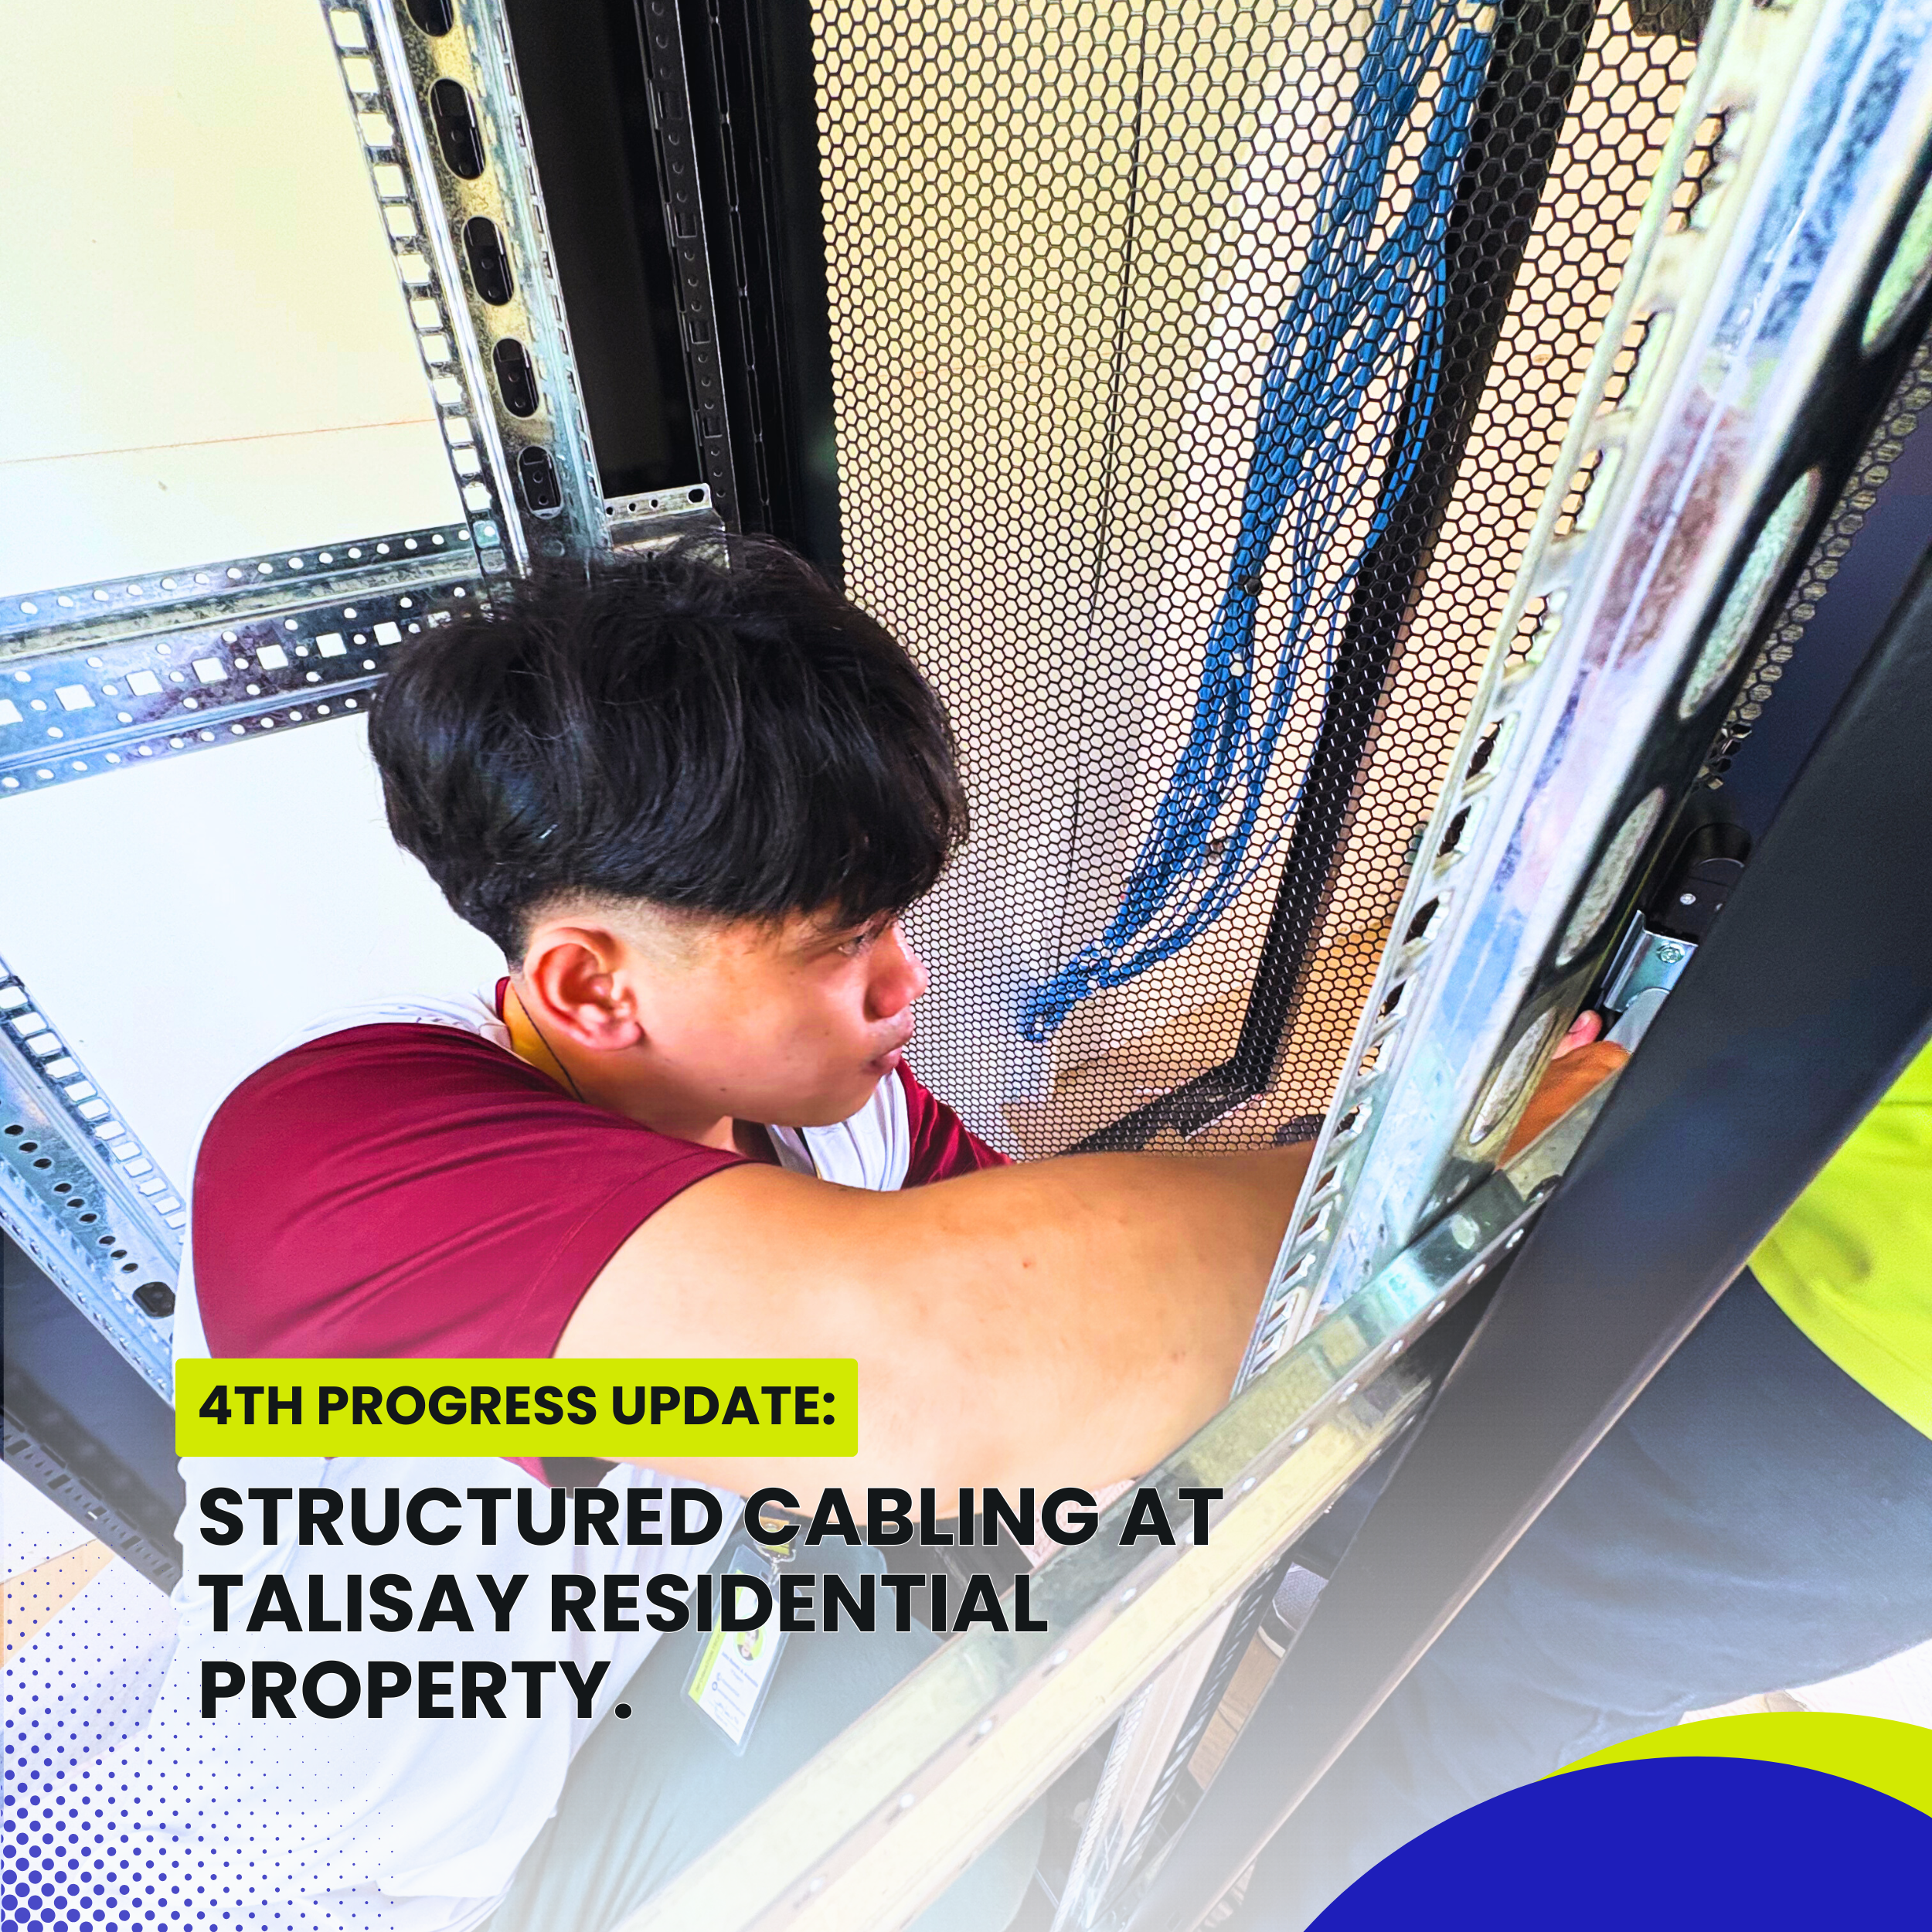
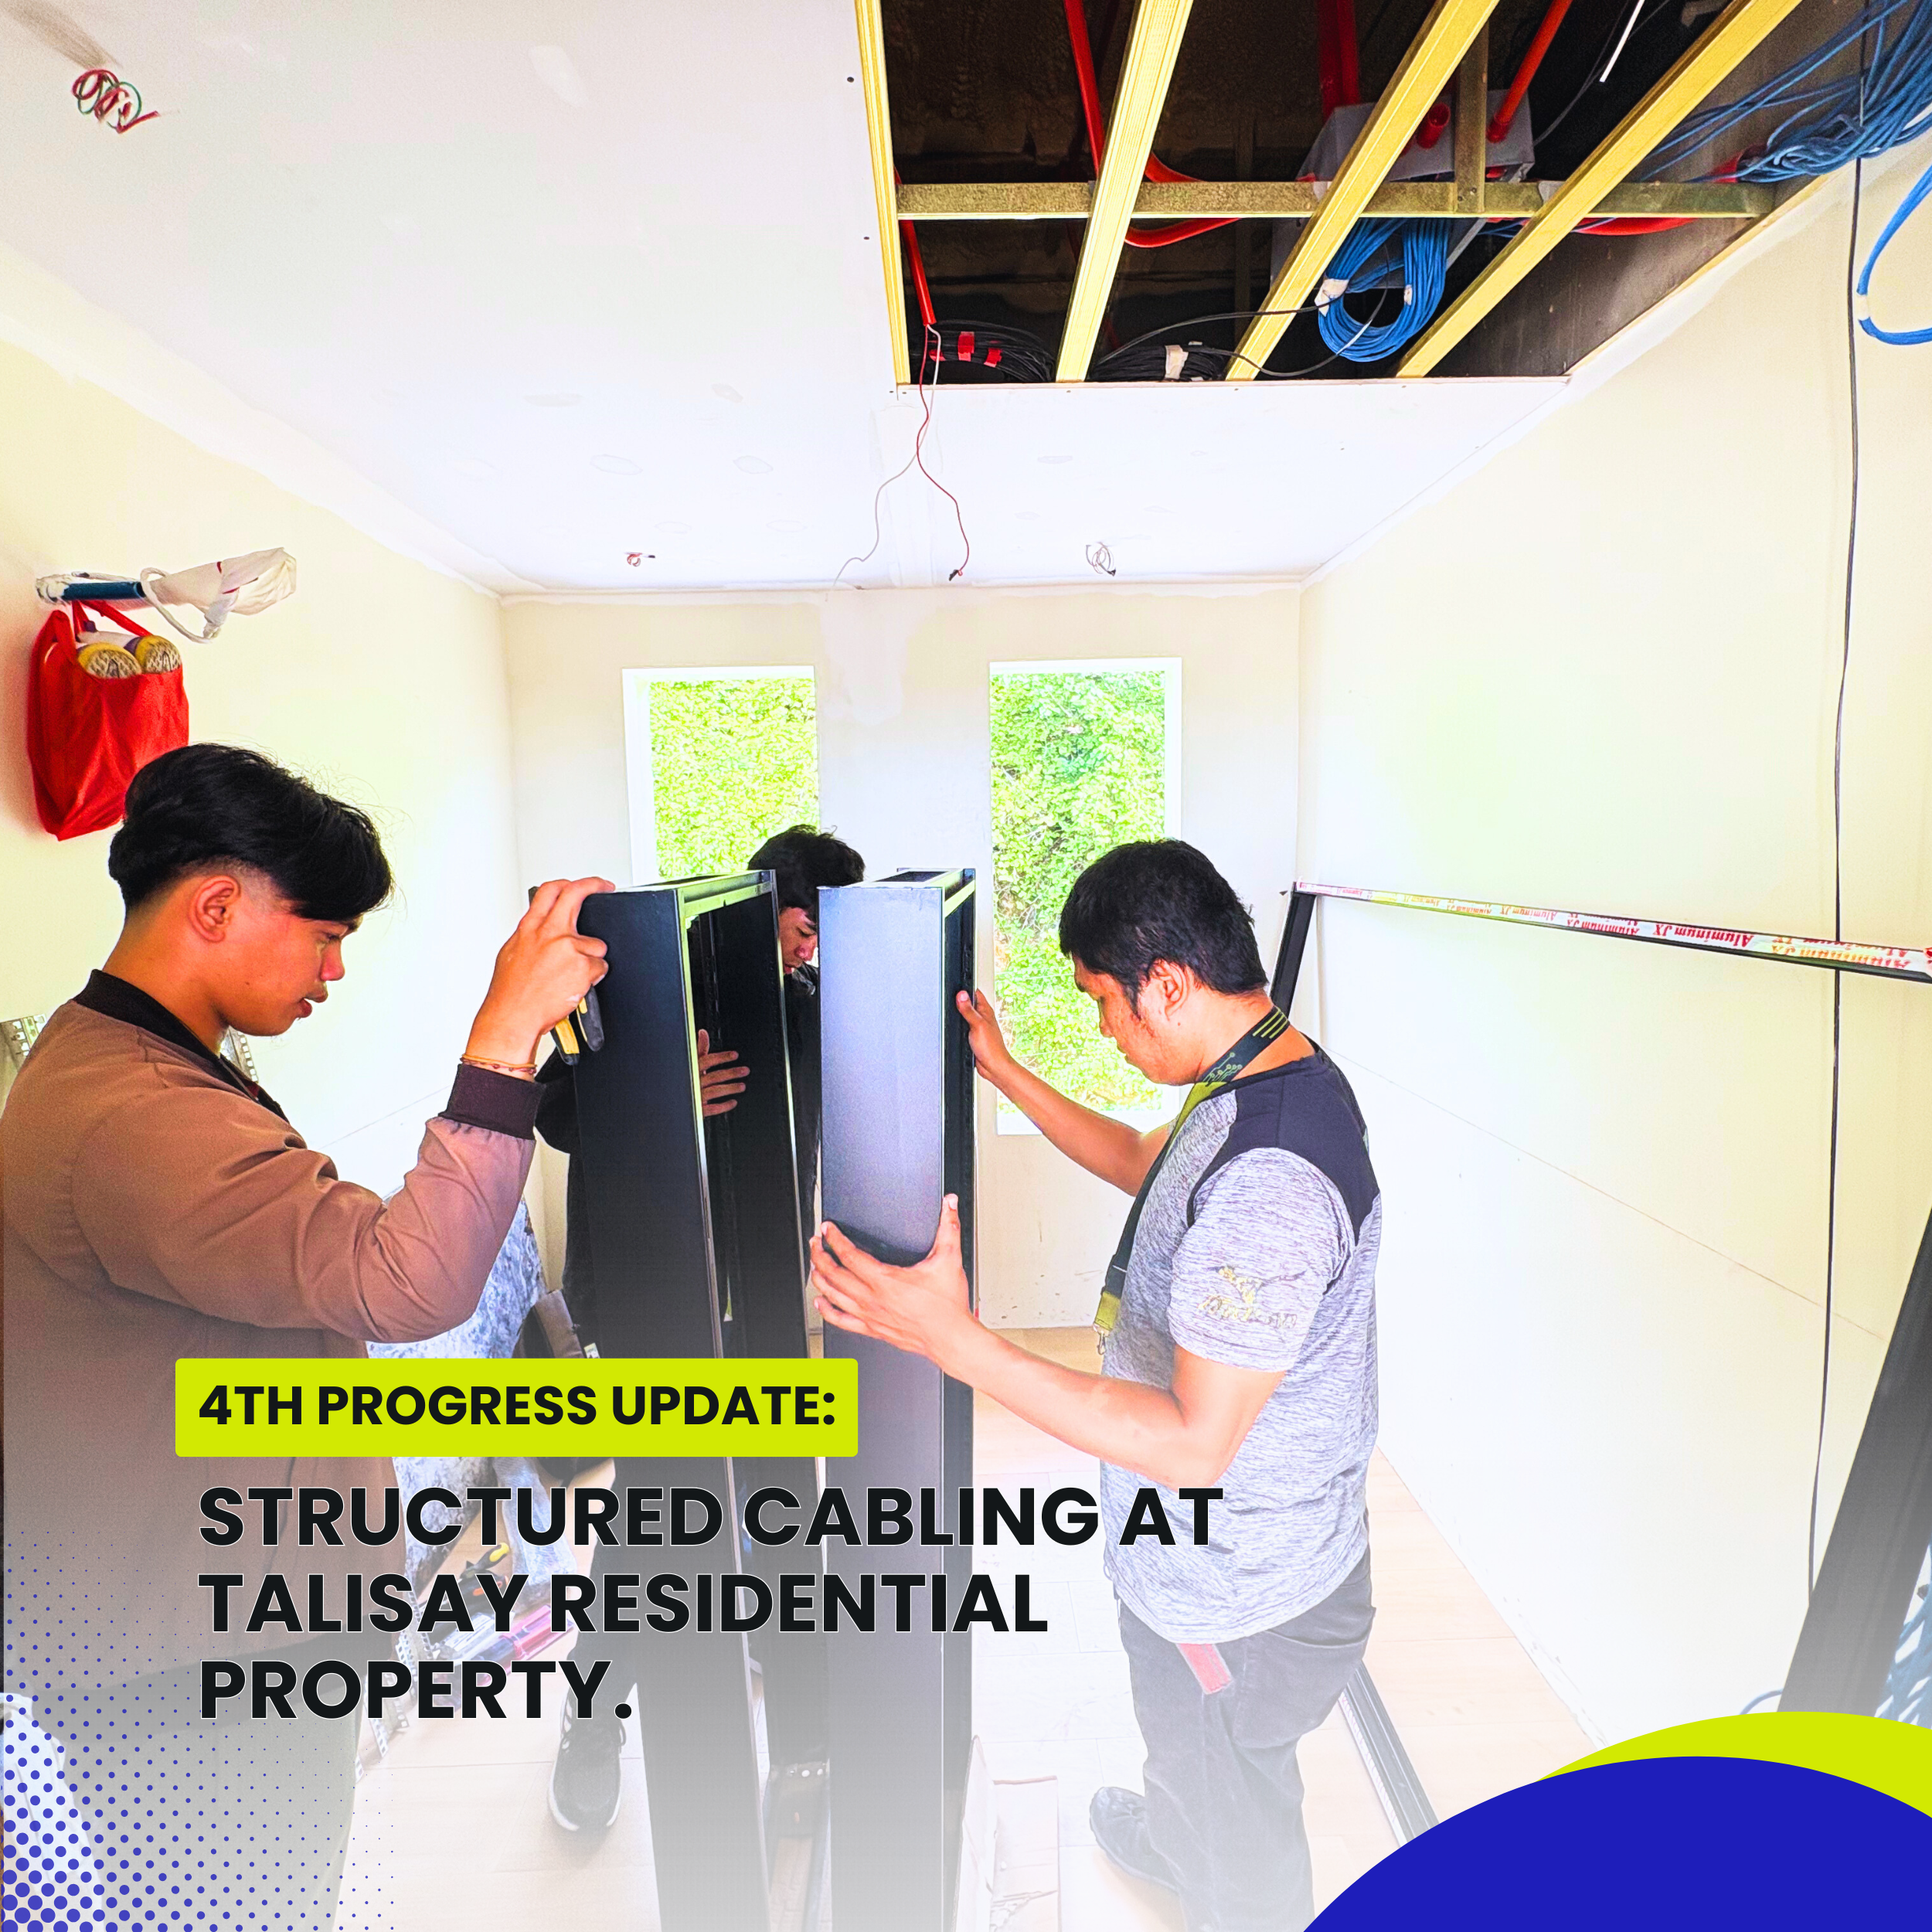
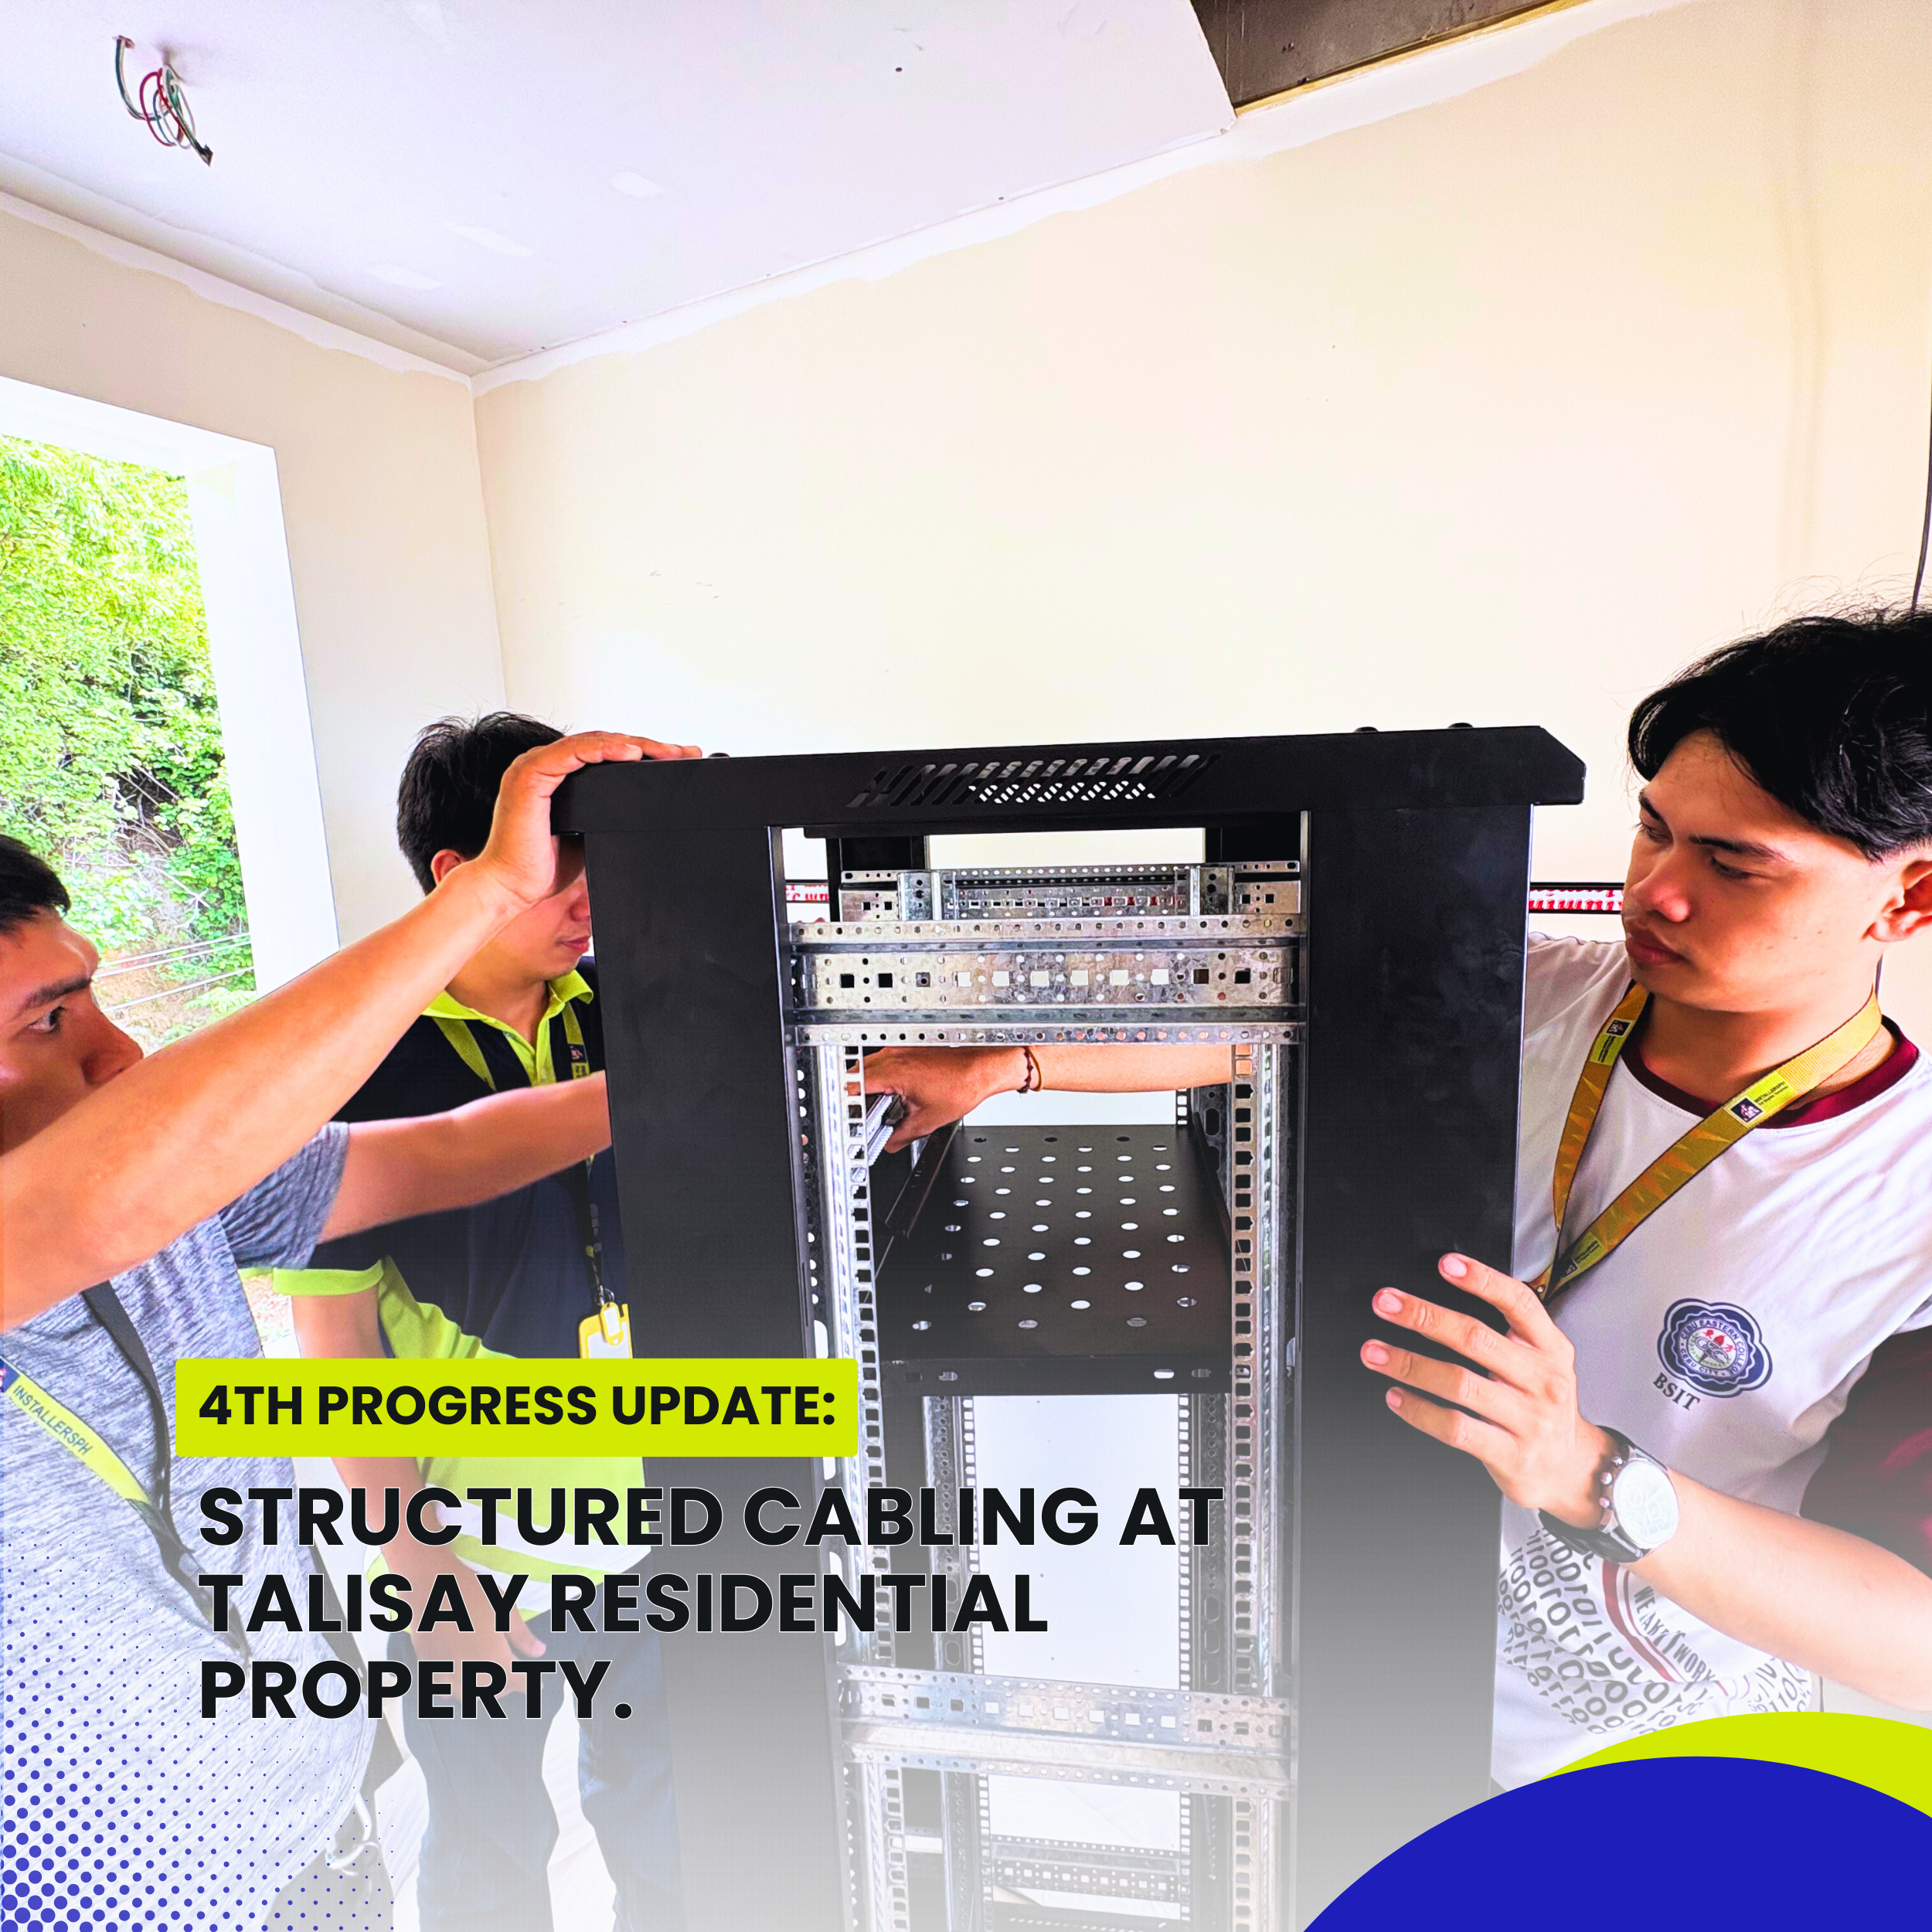
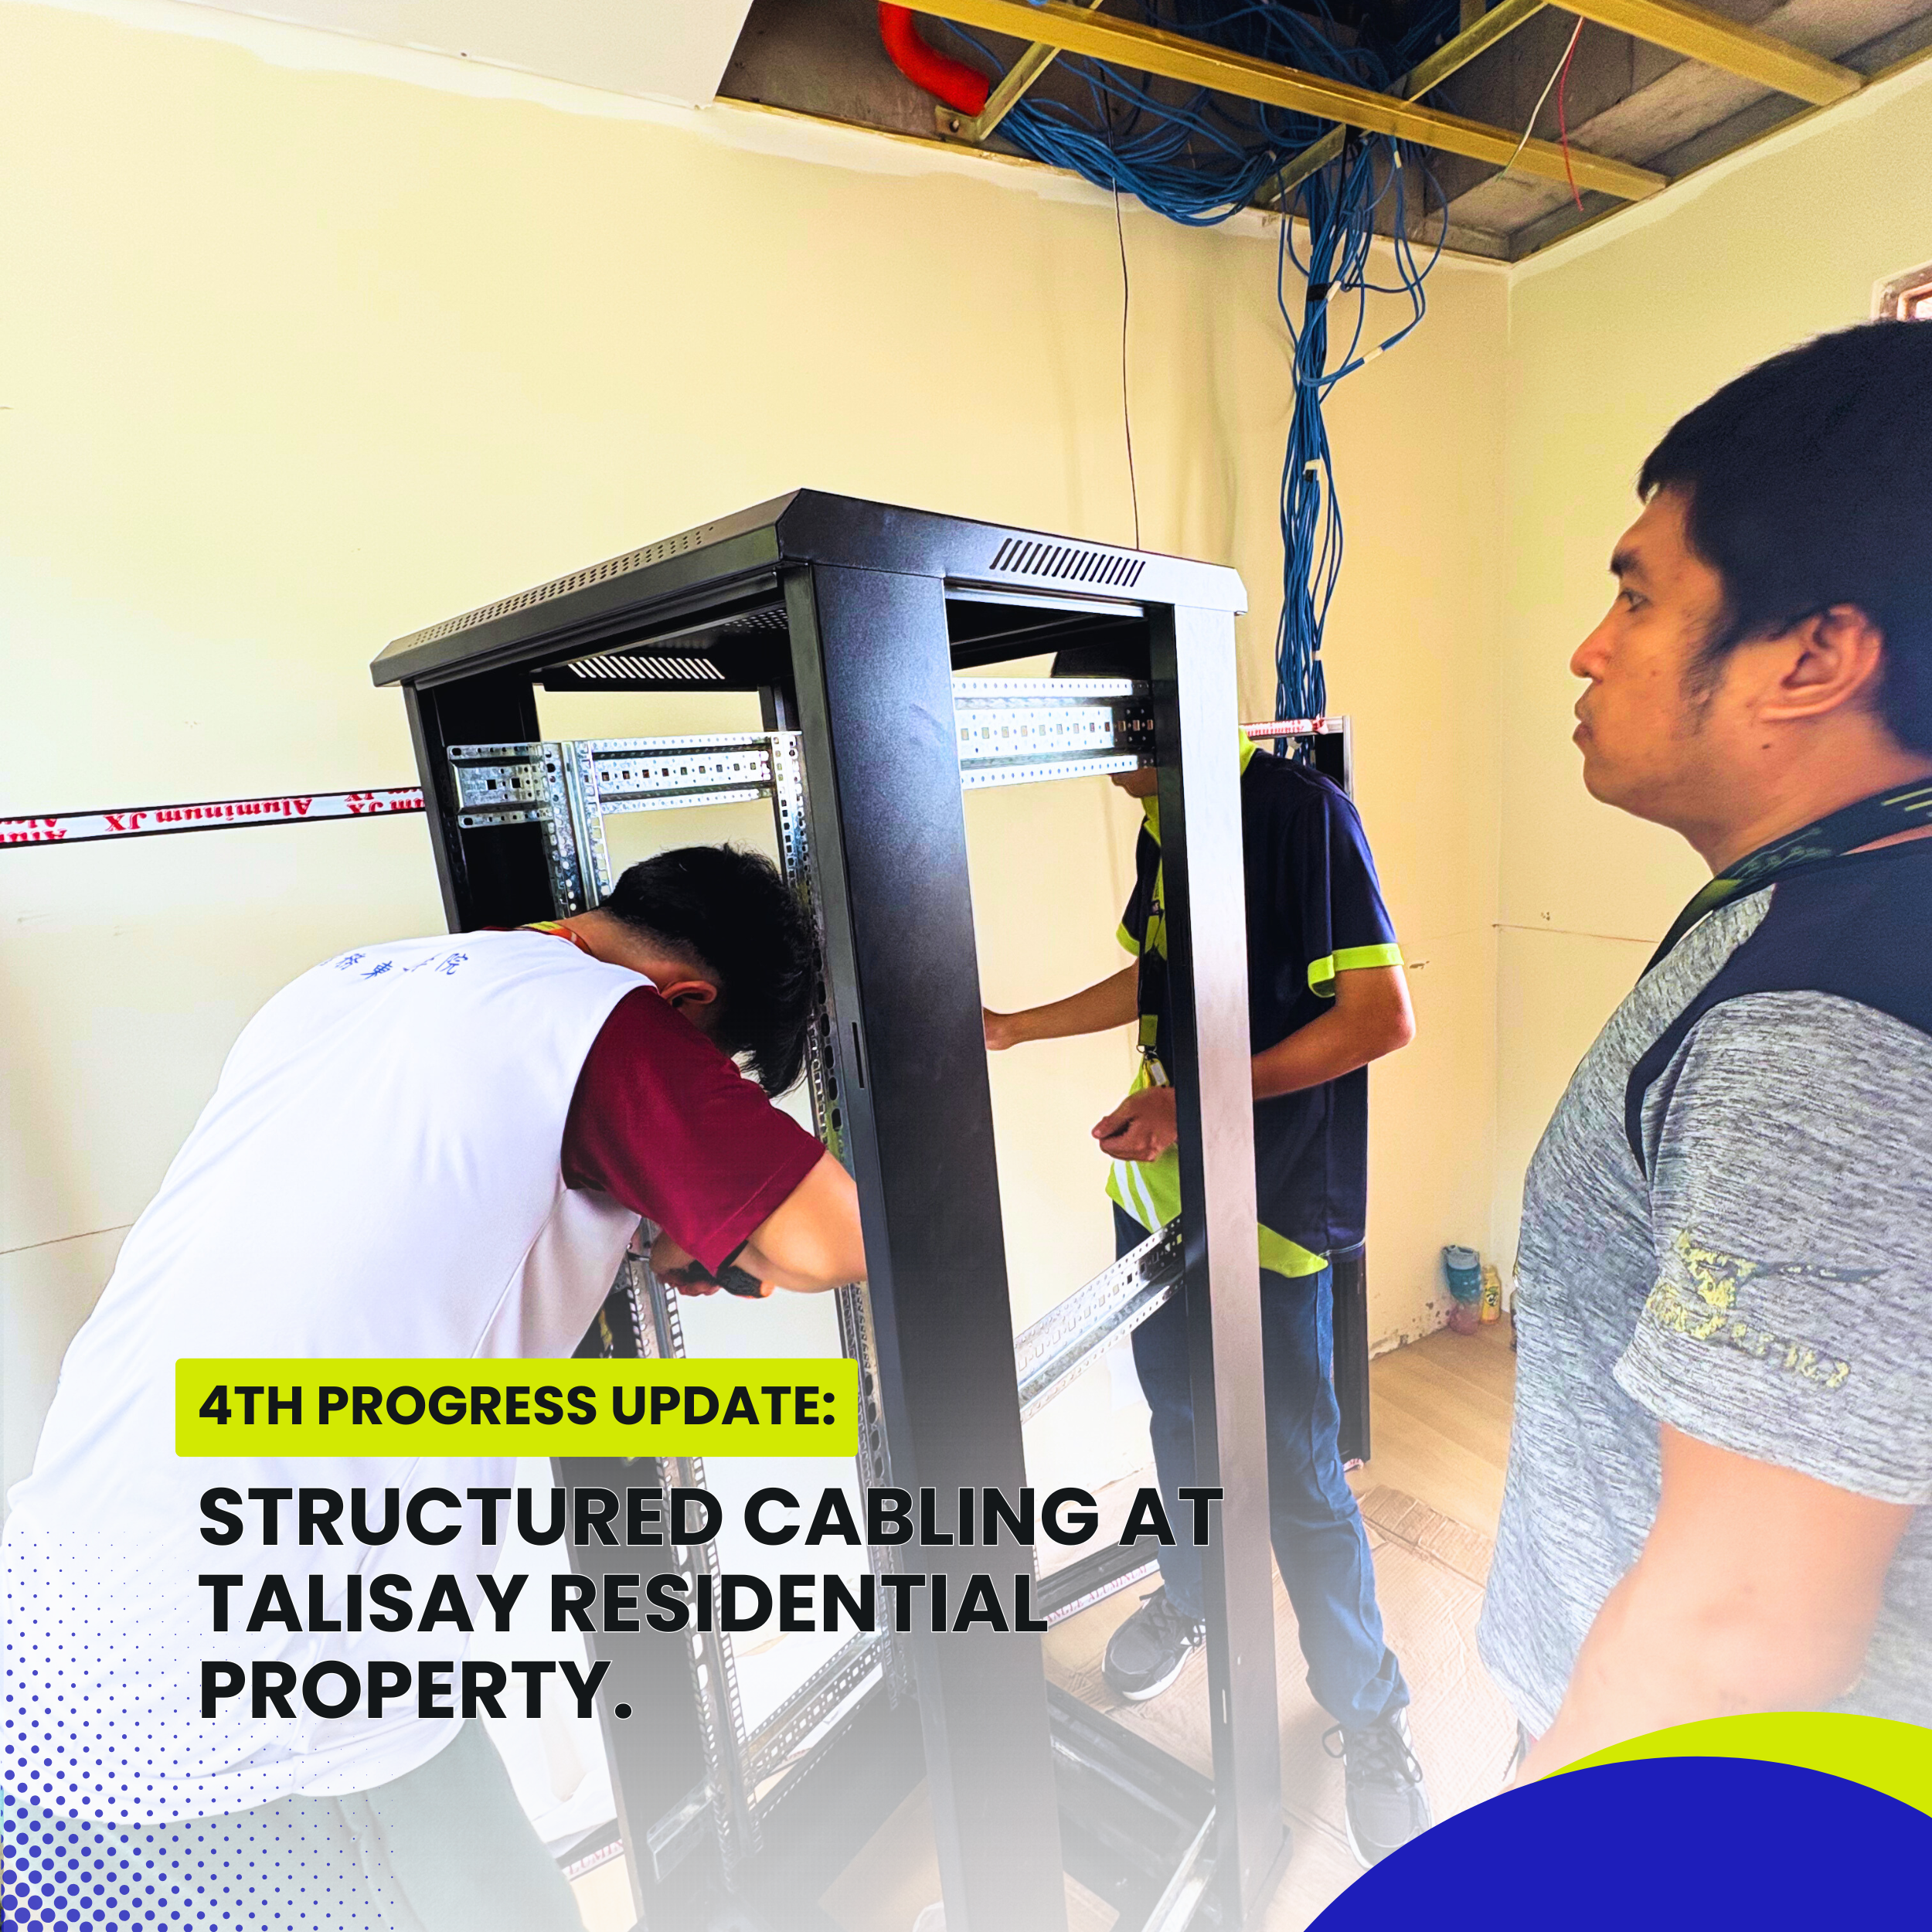
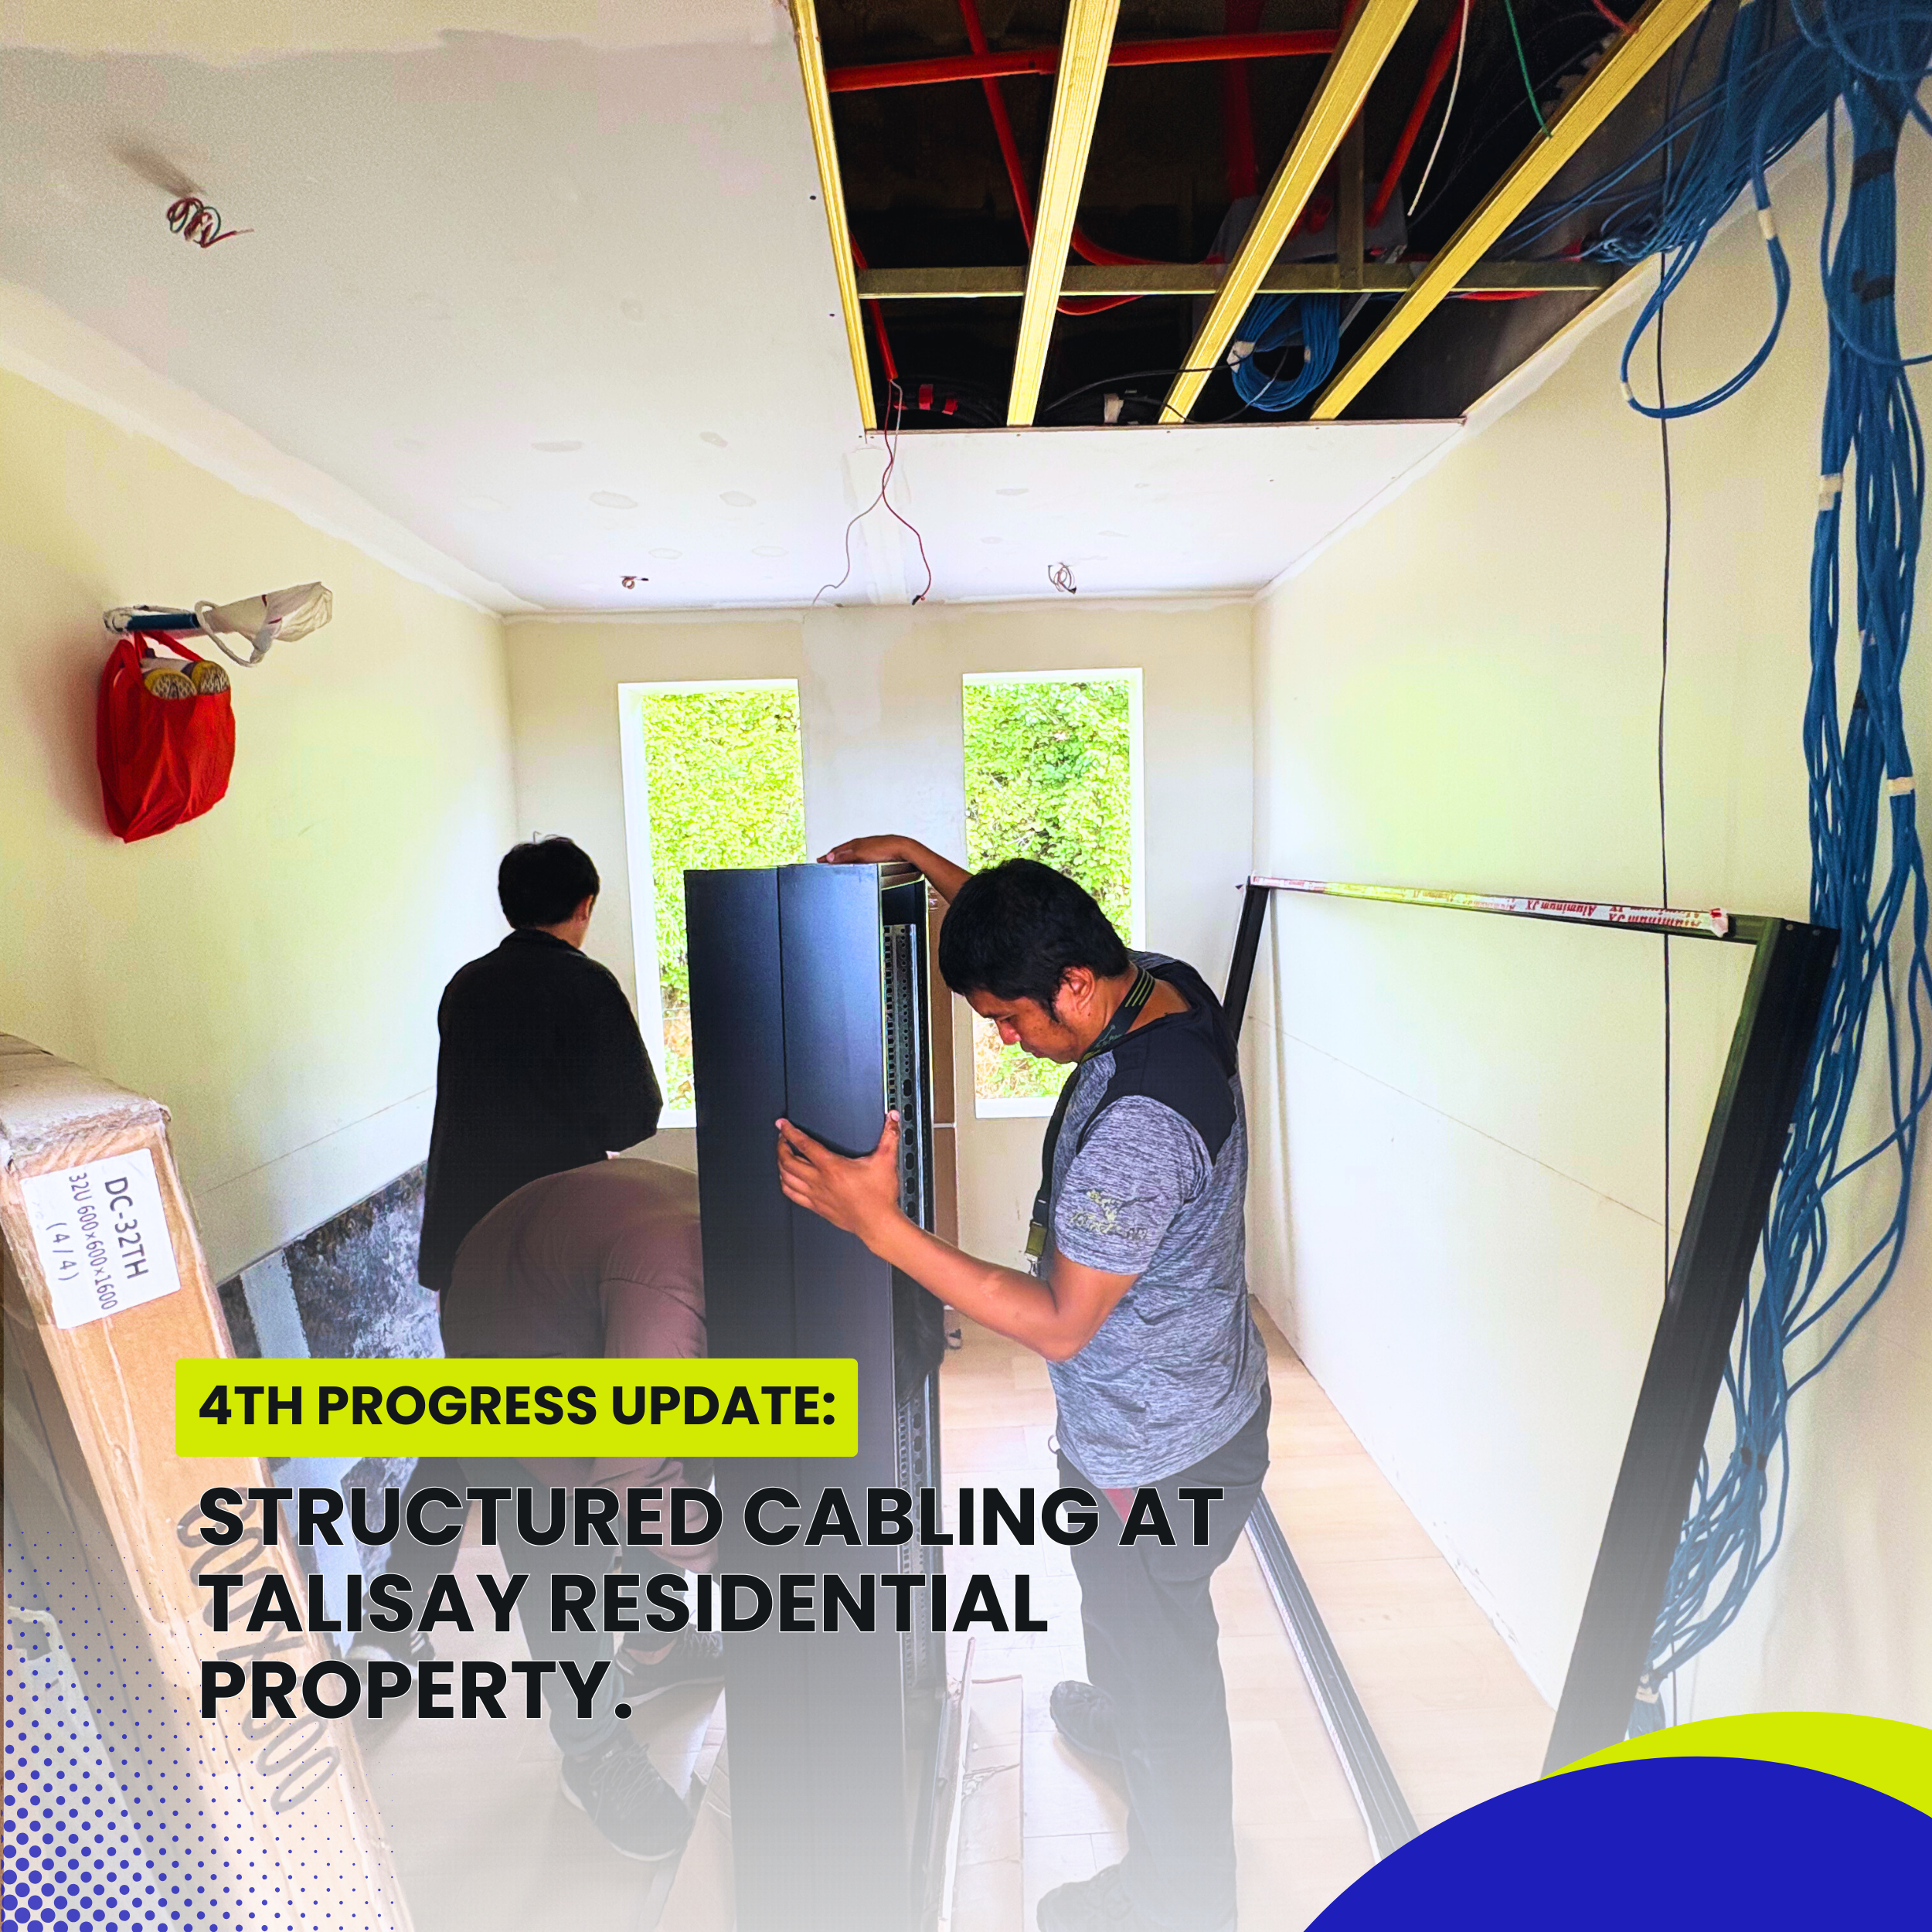
Phase 4: Data Cabinet Arrival and Setup – Centralized Control.
The most recent progress in our structured cabling project involved the arrival and installation preparation of the ordered data cabinet. This cabinet will serve as the central hub for housing the patch panels, switches, modem/router, NVR, and power management equipment.
The cabinet selected for this project is a wall-mount 9U network rack with ventilation, lockable doors, and removable side panels. It’s compact enough for residential spaces yet robust enough to accommodate the client’s future expansion.
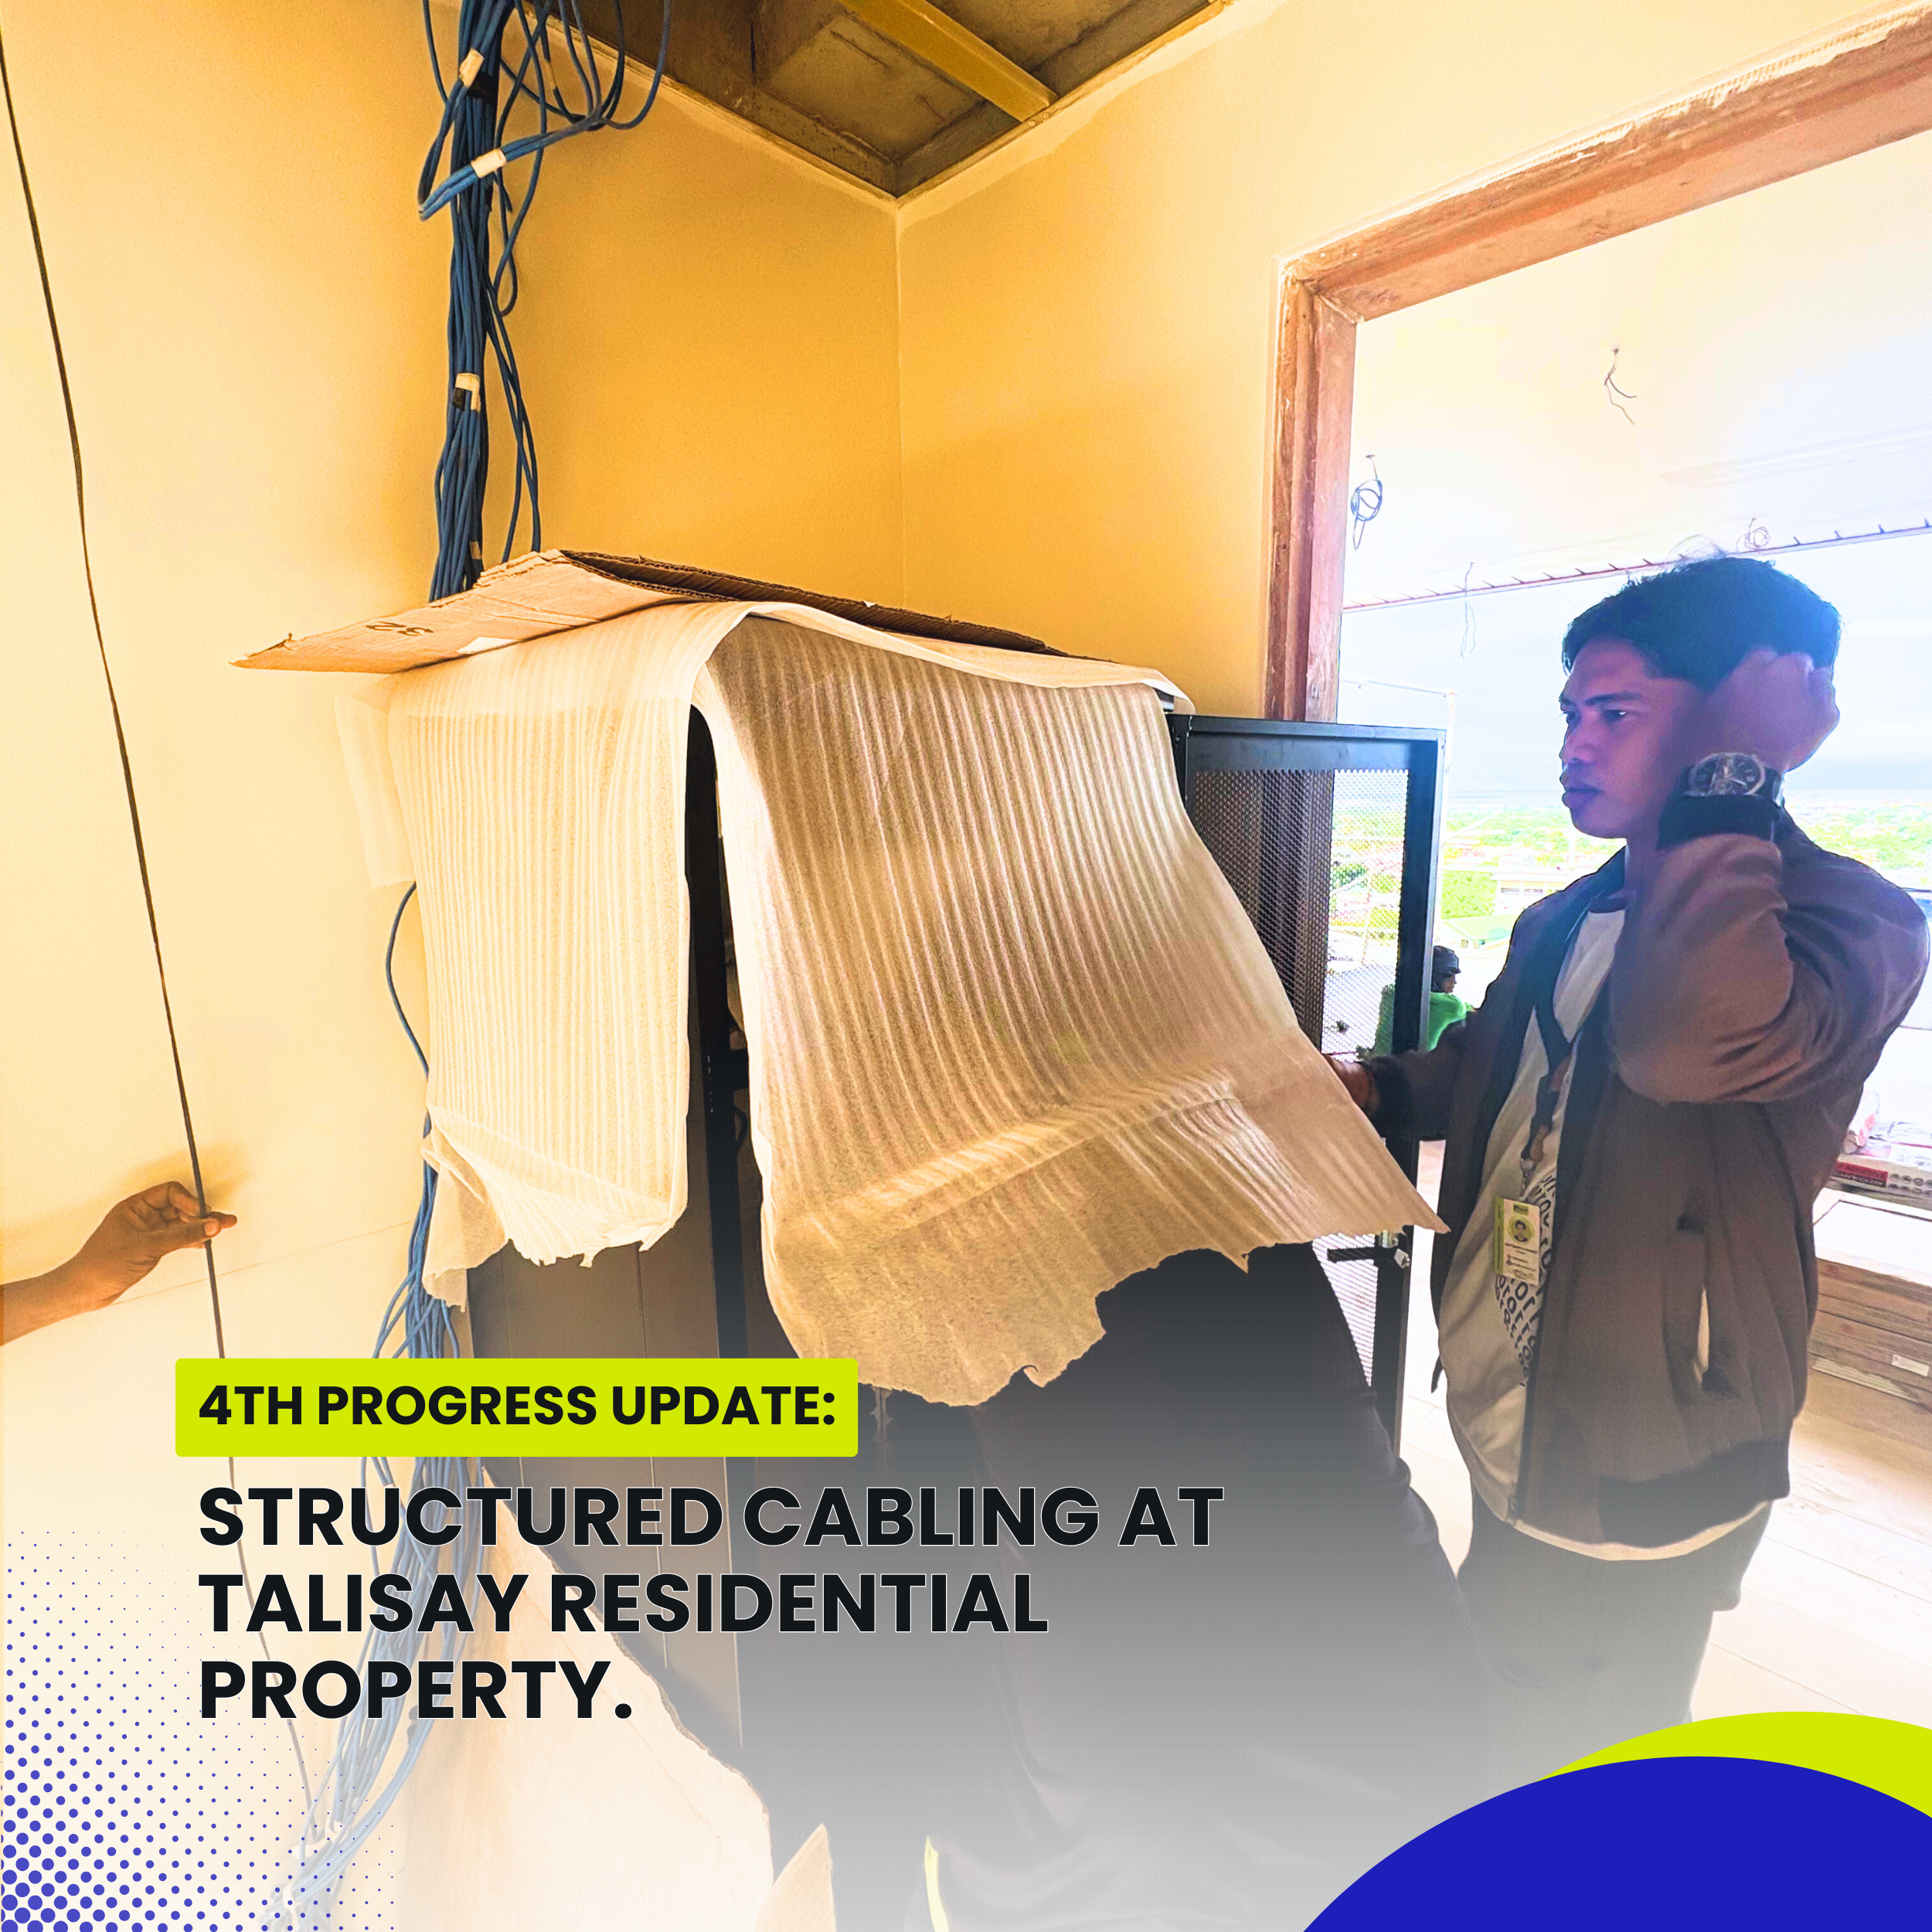
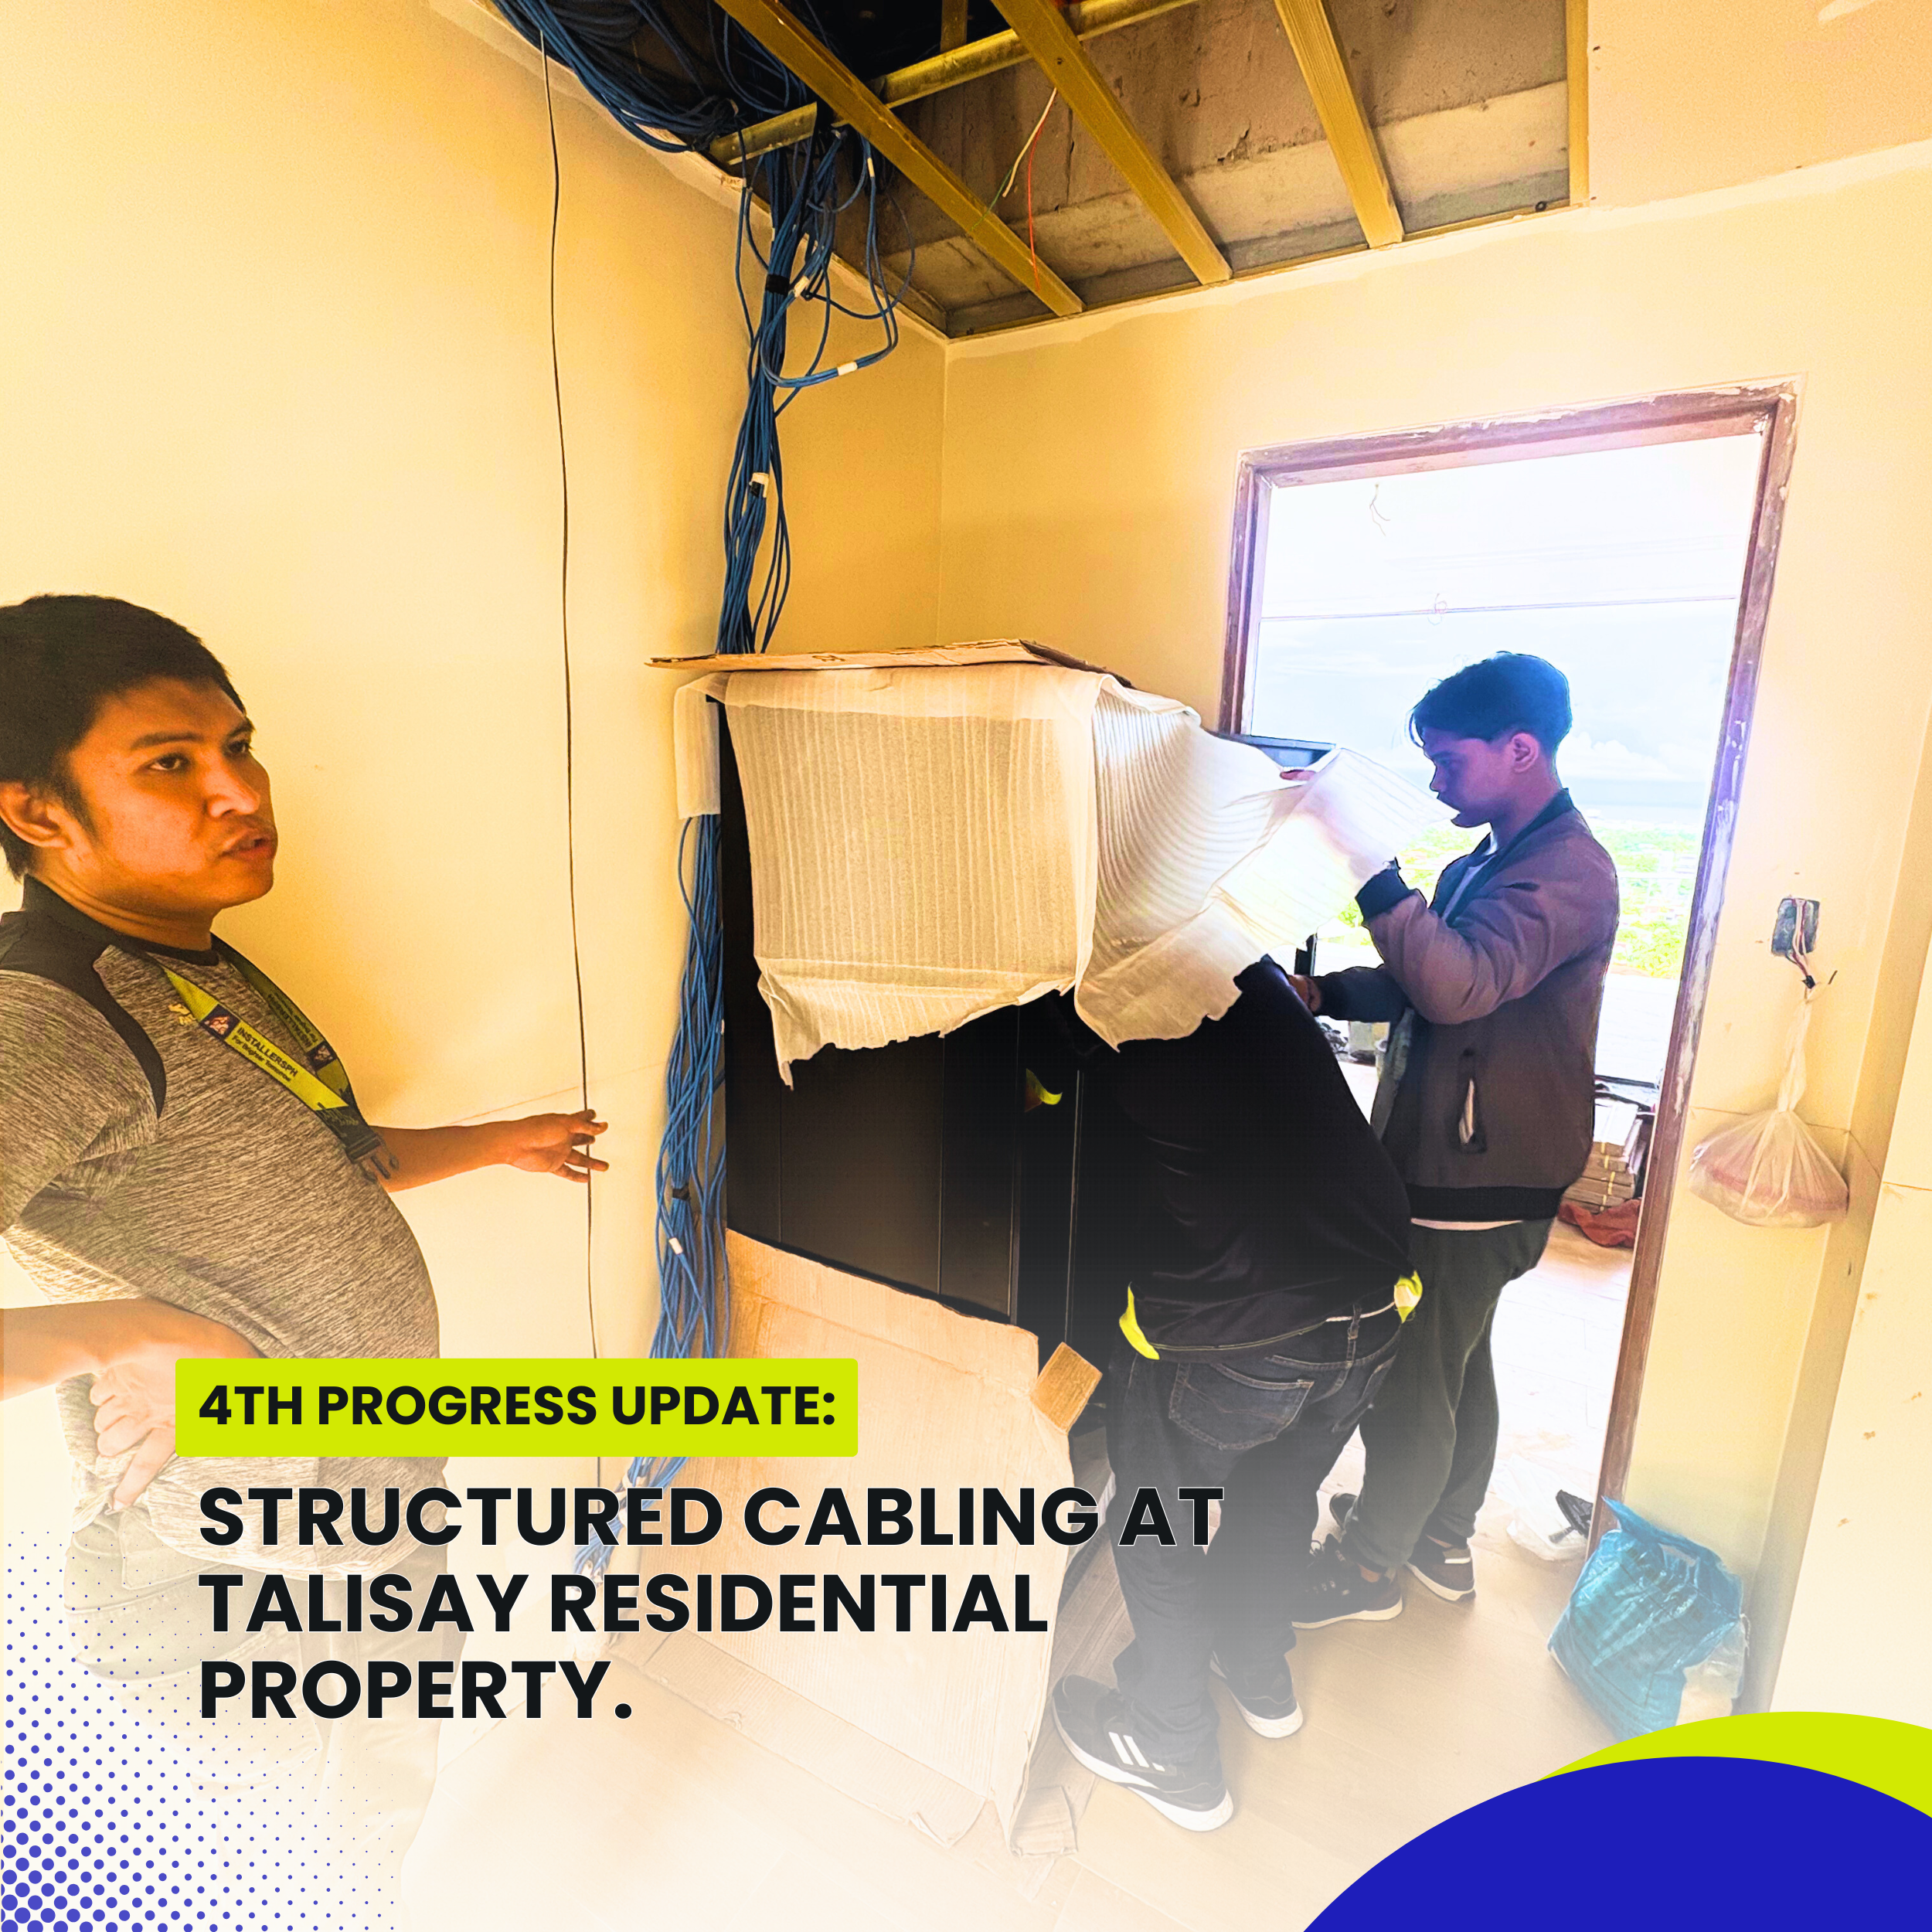
Work performed in this fourth progress update:
Unboxing and Inspection: Upon arrival, the cabinet was unpacked and checked for damages or defects. All accessories including mounting screws, cage nuts, and shelves were confirmed.
Cabinet Mounting: The installation location (a utility room with ample ventilation) had already been prepared with reinforced wall anchors. The team used a level and heavy-duty wall bolts to secure the cabinet bracket. The cabinet was then lifted and mounted securely.
Patch Panel and Cable Management Prep: With the cabinet mounted, we began transferring the terminated patch panels and organizing cable entries. Grommet-lined cable access points ensured there would be no sharp edges damaging the cables. Velcro straps and cable combs were used to neatly route the labeled cables into the rack’s top openings.
Although this progress update focused on mounting and initial prep, the next phase will integrate active devices: the switch, router, NVR, and future smart hub. Power supply planning (including UPS integration) and ventilation testing will also be part of the upcoming work.
The homeowner expressed satisfaction with how the cabinet has been neatly integrated into the property’s existing structure; providing both functionality and aesthetics.
Conclusion
With four major progress milestones completed, the structured cabling project at the Talisay residential property is now entering its final stages. From the organized deployment of CAT6 cables to the termination, testing, labeling, and the cabinet setup; each step has been carried out with precision and long-term planning in mind.
As we proceed to the next phase, the integration of network hardware, internet connectivity, CCTV feeds, and smart devices will bring the entire structured cabling infrastructure to life. The homeowner will benefit from an efficient, organized, and scalable system; ideal for today’s connected living.
At Installersph IT Solutions, we take pride in transforming networking requirements into tangible, clean, and high-performance installations. The Talisay project is another testament to how structured cabling remains a vital asset for any modern property; residential or commercial.
Stay tuned for the next update where we complete the cabinet integration and bring the entire network to full operation.
Case Studies

CCTV Site Inspection at a Residence in Jardin de Busay. Introduction. On April 01, 2026, the InstallersPH IT Solutions team conducted a CCTV site inspection at Jardin De Busay, located along Cebu …
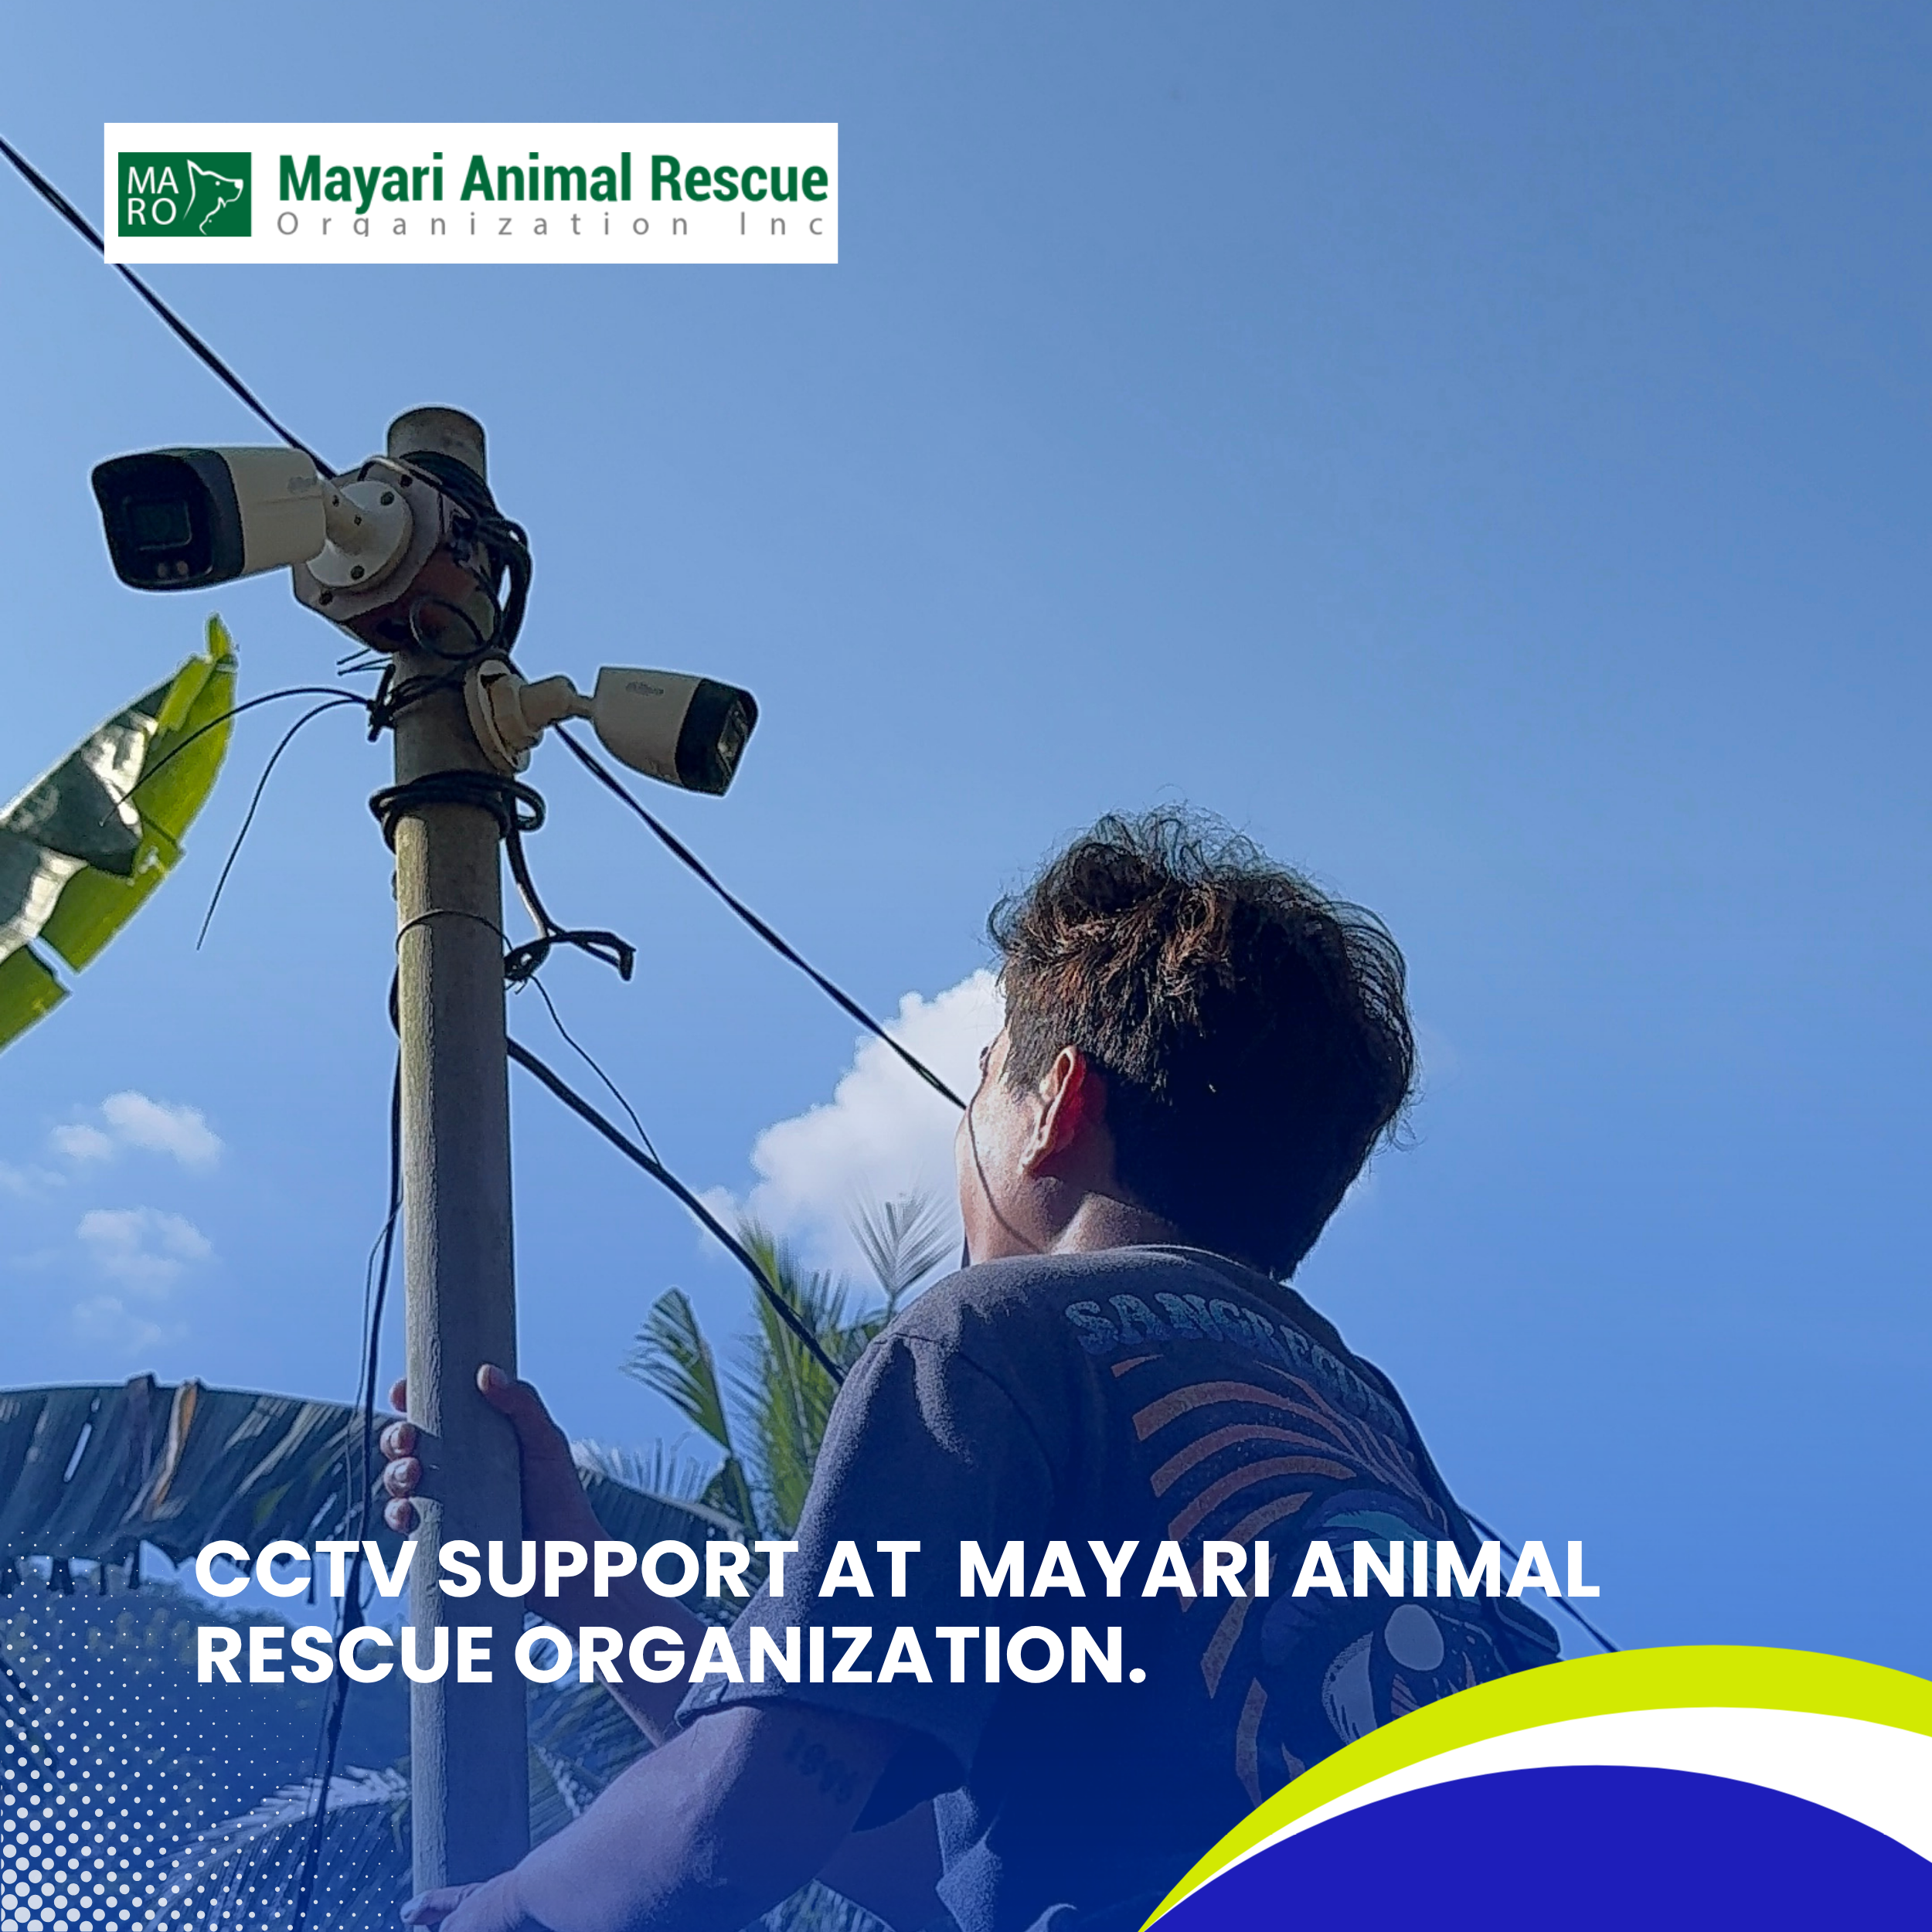
CCTV Support at Mayari Animal Rescue Organization. Introduction. Ensuring the safety and security of facilities is essential, especially for organizations dedicated to animal welfare. On March 30, 2026, the InstallersPH IT Solutions …