A Day of Giving: Visiting Everlasting Hope Childhood Cancer Mission. Introduction. InstallersPH IT Solutions recently had the honor of visiting the Everlasting Hope Childhood Cancer Mission, an experience that deeply moved our …
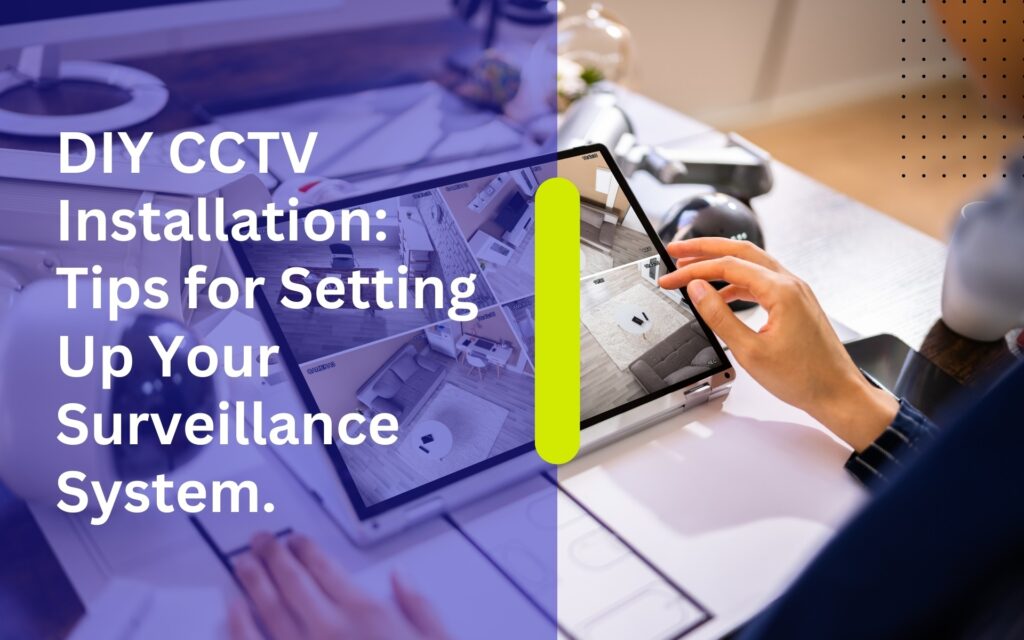
DIY CCTV Installation: Tips for Setting Up Your Surveillance System.

Introduction
In today’s rapidly evolving world, ensuring the security of your property has become more critical than ever. Whether you’re a homeowner wanting to protect your family and belongings or a business owner safeguarding your assets, implementing a closed-circuit television (CCTV) system can provide invaluable peace of mind. While hiring professionals for CCTV installation is a common choice, many individuals and businesses are opting for the do-it-yourself (DIY) approach to save costs and customize their surveillance setup to their specific needs.
However, embarking on a DIY CCTV installation project without adequate knowledge and preparation can lead to subpar results and potential security vulnerabilities. To help you navigate the complexities of setting up your CCTV system effectively, this comprehensive guide will provide in-depth insights, essential tips, and best practices for a successful installation.
Understanding Your CCTV System Components
Before diving into the installation process, it’s essential to familiarize yourself with the core components of a CCTV system:
1. Cameras
These devices capture video footage and are available in various types, including dome, bullet, PTZ (pan-tilt-zoom), and covert cameras.
2. Digital Video Recorder (DVR) or Network Video Recorder (NVR)
The DVR/NVR is the central hub of the surveillance system, responsible for recording, storing, and managing video footage.
3. Cables and Connectors
Ethernet cables, coaxial cables, and power cables are used to transmit video signals from the cameras to the recorder and provide power to the cameras.
4. Power Supply
Cameras require power to function, which can be supplied through traditional power outlets or Power over Ethernet (PoE) technology.
5. Monitor
A display screen is used for live viewing and playback of recorded footage.
Pre-Installation Preparation
Assess Your Security Needs: Conduct a thorough assessment of your property to identify potential security risks and determine the areas that require surveillance coverage. Consider factors such as the size of the area, lighting conditions, and the presence of blind spots.
1. Selecting the Right Cameras
Choose cameras that are suitable for your specific requirements, taking into account factors such as resolution, lens type, field of view, weather resistance (for outdoor cameras), and night vision capabilities.
2. Map Camera Locations
Create a detailed plan or layout indicating the placement of each camera. Ensure that the chosen locations provide optimal coverage of the areas you wish to monitor while minimizing blind spots.
3. Gather Necessary Tools and Equipment
Before starting the installation process, ensure that you have all the required tools and equipment on hand. Common tools include a power drill, screwdrivers, cable cutters, cable testers, and a ladder (for outdoor installations).
Installation Process
1. Mounting the Cameras
Follow the manufacturer’s guidelines for mounting each camera securely in its designated location. Use appropriate mounting brackets or housings to protect the cameras from vandalism and harsh weather conditions.
2. Routing and Concealing Cables
Carefully route the cables from each camera to the DVR/NVR location, ensuring that they are hidden or concealed as much as possible to prevent tampering and maintain a neat appearance. Use cable clips, conduit tubing, or cable channels for organized cable management.
3. Connecting Cameras to the Recorder
Connect each camera to the DVR/NVR using the appropriate cables and connectors. If using IP cameras, configure network settings such as IP addresses, subnet masks, and gateway addresses to enable communication with the recorder.
4. Powering Up the System
Ensure that each camera receives power either through traditional power outlets or PoE switches. Connect the DVR/NVR to a power source and turn it on to initiate the setup process.
5. Configuring System Settings
Access the DVR/NVR interface via a monitor or a web browser to configure essential settings such as recording schedules, motion detection sensitivity, detection zones, video quality, and storage options. Set up user accounts and passwords to restrict access to the system’s administrative functions.
6. Testing the System
Perform comprehensive testing of the entire surveillance system to ensure that all cameras are functioning correctly and capturing clear footage. Test live viewing, recording, playback, motion detection, and remote access (if applicable) to verify the system’s effectiveness.
Troubleshooting Common Issues
Even with careful planning and execution, you may encounter various challenges during the installation process. Here are some common issues and troubleshooting tips:
1. Poor Image Quality
Adjust camera settings such as focus, exposure, and resolution to improve image clarity. Ensure that the cameras are positioned correctly and that there are no obstructions blocking the view.
2. Interference or Signal Loss
Check the integrity of cable connections and connectors, ensuring that they are securely attached and free from damage. Avoid running cables parallel to electrical wiring to minimize electromagnetic interference (EMI).
3. Network Connectivity Problems
Troubleshoot network connectivity issues by verifying that the cameras are properly connected to the network and that the network settings are configured correctly. Check router settings, firewall settings, and network bandwidth to ensure smooth communication between the cameras and the recorder.
4. Ineffective Motion Detection
Fine-tune motion detection settings such as sensitivity levels, detection zones, and masking to minimize false alarms triggered by irrelevant motion. Adjust the positioning and angle of the cameras to optimize motion detection performance.
5. Insufficient Storage Space
If you encounter storage space limitations, consider upgrading the DVR/NVR’s hard drive capacity or implementing a more efficient recording schedule. Configure the system to overwrite old footage automatically when the storage capacity reaches its limit, prioritizing the retention of critical recordings.
Maintenance and Upkeep
To ensure the long-term reliability and effectiveness of your CCTV system, regular maintenance and upkeep are essential. Here are some maintenance tasks to incorporate into your routine:
1. Regular Inspections
Periodically inspect the cameras, cables, connectors, and mounting hardware for signs of wear, damage, or tampering. Clean the camera lenses and housings to remove dust, dirt, and debris that may affect image quality.
2. Software Updates
Keep the DVR/NVR firmware and camera firmware up-to-date by installing manufacturer-released updates and patches. Regularly check for software updates and security patches to address vulnerabilities and enhance system performance.
3. Backup Footage
Implement a backup strategy to protect critical video footage in case of DVR/NVR failure, theft, or physical damage. Backup recorded footage to external storage devices or cloud-based storage services on a regular basis, ensuring redundancy and resilience against data loss.
4. Environmental Protection
Protect outdoor cameras from harsh weather conditions such as rain, snow, heat, and humidity by installing weatherproof housings or enclosures. Ensure that cables and connectors are adequately sealed to prevent water ingress and corrosion.
5. Security Measures
Implement additional security measures to safeguard the CCTV system against unauthorized access and tampering. Change default passwords, enable encryption, and restrict physical access to the DVR/NVR by securing it in a locked cabinet or enclosure.
Conclusion
By following the comprehensive guidelines and best practices outlined in this guide, you can embark on your DIY CCTV installation project with confidence and ensure the effective deployment of your surveillance system. Remember to prioritize safety, adhere to local regulations and legal requirements, and seek professional assistance if you encounter challenges beyond your expertise. With careful planning, meticulous execution, and ongoing maintenance, you can create a robust and reliable CCTV system that provides enhanced security and peace of mind for your property and assets.
Related Articles
Process of Supply and Installation of Doorbell Intercom System. Introduction. Security and controlled access have become essential for homes, offices, and commercial spaces in today’s environment. Knowing who is at the door …
A Heartfelt Visit to Mayari Animal Rescue Organization. Introduction. As part of our commitment to social responsibility and compassion beyond the workplace, InstallersPH IT Solutions recently organized a meaningful outreach visit to …


