

UPS o voltage regulator? October 6, 2026 Carol Jhane Canitan Video. https://youtube.com/shorts/qdMnD8_F36E UPS or Voltage Regulator: Which One Do You Need? Introduction. Power problems can affect computers, POS systems, network equipment, and …
How to install starlink.
How to Install Starlink: A Simple Step-by-Step Guide.
Introduction.
Starlink provides high-speed internet connectivity through a satellite-based system, making proper installation an important step in achieving a reliable connection. While the setup is designed to be user-friendly, choosing the right location, positioning the dish correctly, and following the proper connection procedure are essential.
Here is a simple guide to help you understand the basic steps involved in installing Starlink.
1. Find the Best Location.
The first step is to choose a suitable location for the Starlink dish. The dish should have a clear and unobstructed view of the sky to communicate properly with the satellites.
Avoid placing the dish where trees, walls, buildings, or other structures may block its view. Before installation, carefully inspect the area and consider possible obstructions that could affect the connection.
For roof installations, the location should also provide a stable and secure mounting point.
2. Position the Starlink Dish.
Once the appropriate location has been identified, place the Starlink dish on a stable surface or install it using the appropriate mounting hardware.
If the dish is being installed on a roof or elevated area, ensure that the mounting equipment is properly secured. A stable installation helps protect the equipment and maintain reliable operation.
Proper placement is also important to ensure that the dish has sufficient access to the sky.
3. Connect the Starlink Cable.
After positioning the dish, connect the Starlink cable from the dish to the router. Carefully insert the connectors and make sure they are properly seated.
The cable should also be routed neatly and safely to prevent unnecessary tension, damage, or obstruction. Proper cable management helps maintain a clean installation and protects the connection.
4. Power On and Connect.
Once the equipment and cables are connected, plug in the power supply and turn on the Starlink system.
Allow the equipment some time to initialize. Once the system is ready, connect your smartphone or compatible device to the Starlink Wi-Fi network.
The Starlink app can then be used to follow the setup instructions and complete the initial configuration.
5. Check the Connection.
After completing the setup, use the Starlink app to check the system’s connection status. Verify that the equipment is communicating properly and that the internet connection is working as expected.
A connection or speed test can also help confirm that the system is operating properly.
Why Professional Installation Matters.
Although Starlink can be installed by users, professional installation can be beneficial for roof-mounted or more complex setups. Experienced technicians can help with equipment positioning, secure mounting, cable routing, and system configuration.
A properly planned installation can help reduce installation issues and provide a cleaner and safer overall setup.
Conclusion.
Installing Starlink involves several important steps: choosing a clear location, positioning the dish, connecting the cable, powering on the system, and checking the connection.
Following the correct installation process can help ensure that the equipment operates properly and provides reliable connectivity. For customers who prefer a hassle-free setup, InstallersPH IT Solutions provides professional Starlink installation services.
Need professional Starlink installation? Message InstallersPH IT Solutions today.
📡 INSTALLERSPH IT SOLUTIONS
Nationwide Starlink Provider
Case Studies
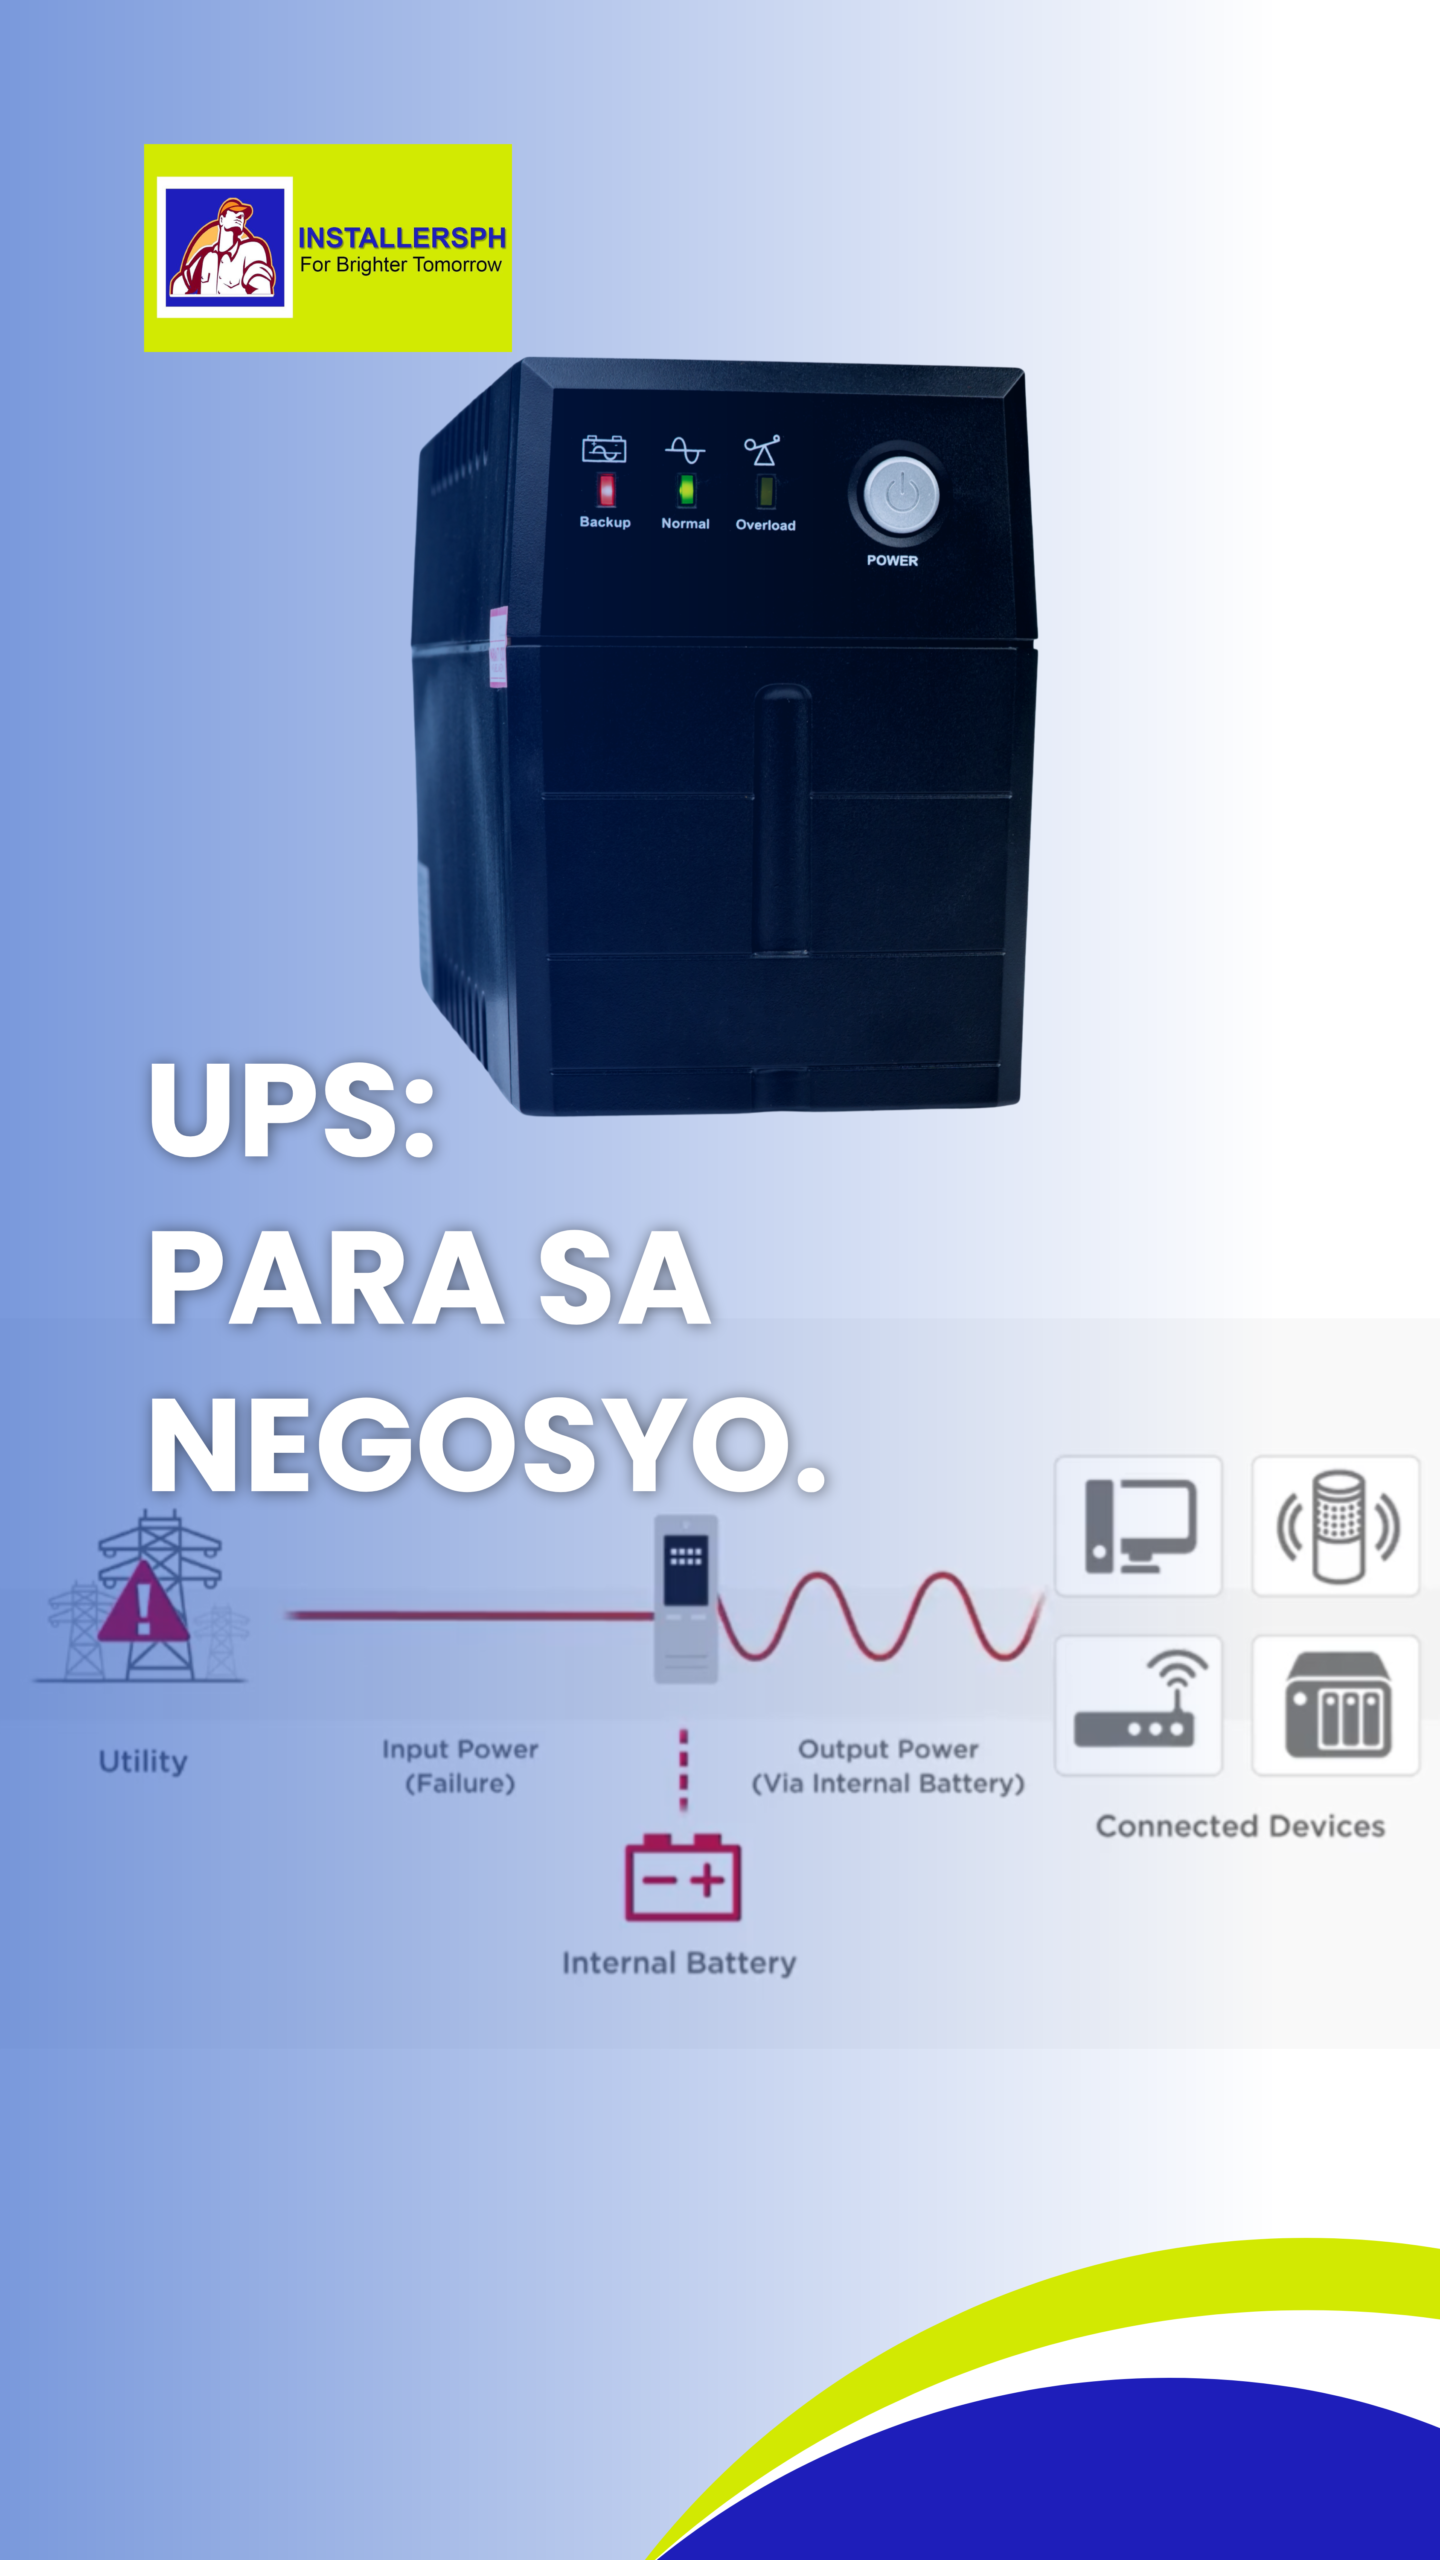
UPS: Para sa negosyo. September 30, 2026 Carol Jhane Canitan Video. https://youtube.com/shorts/vt3LQjM10E0 Why Businesses Need a UPS During Power Interruptions. Introduction. May tindahan, opisina, o negosyong umaasa sa computer, POS, Pisonet, o …
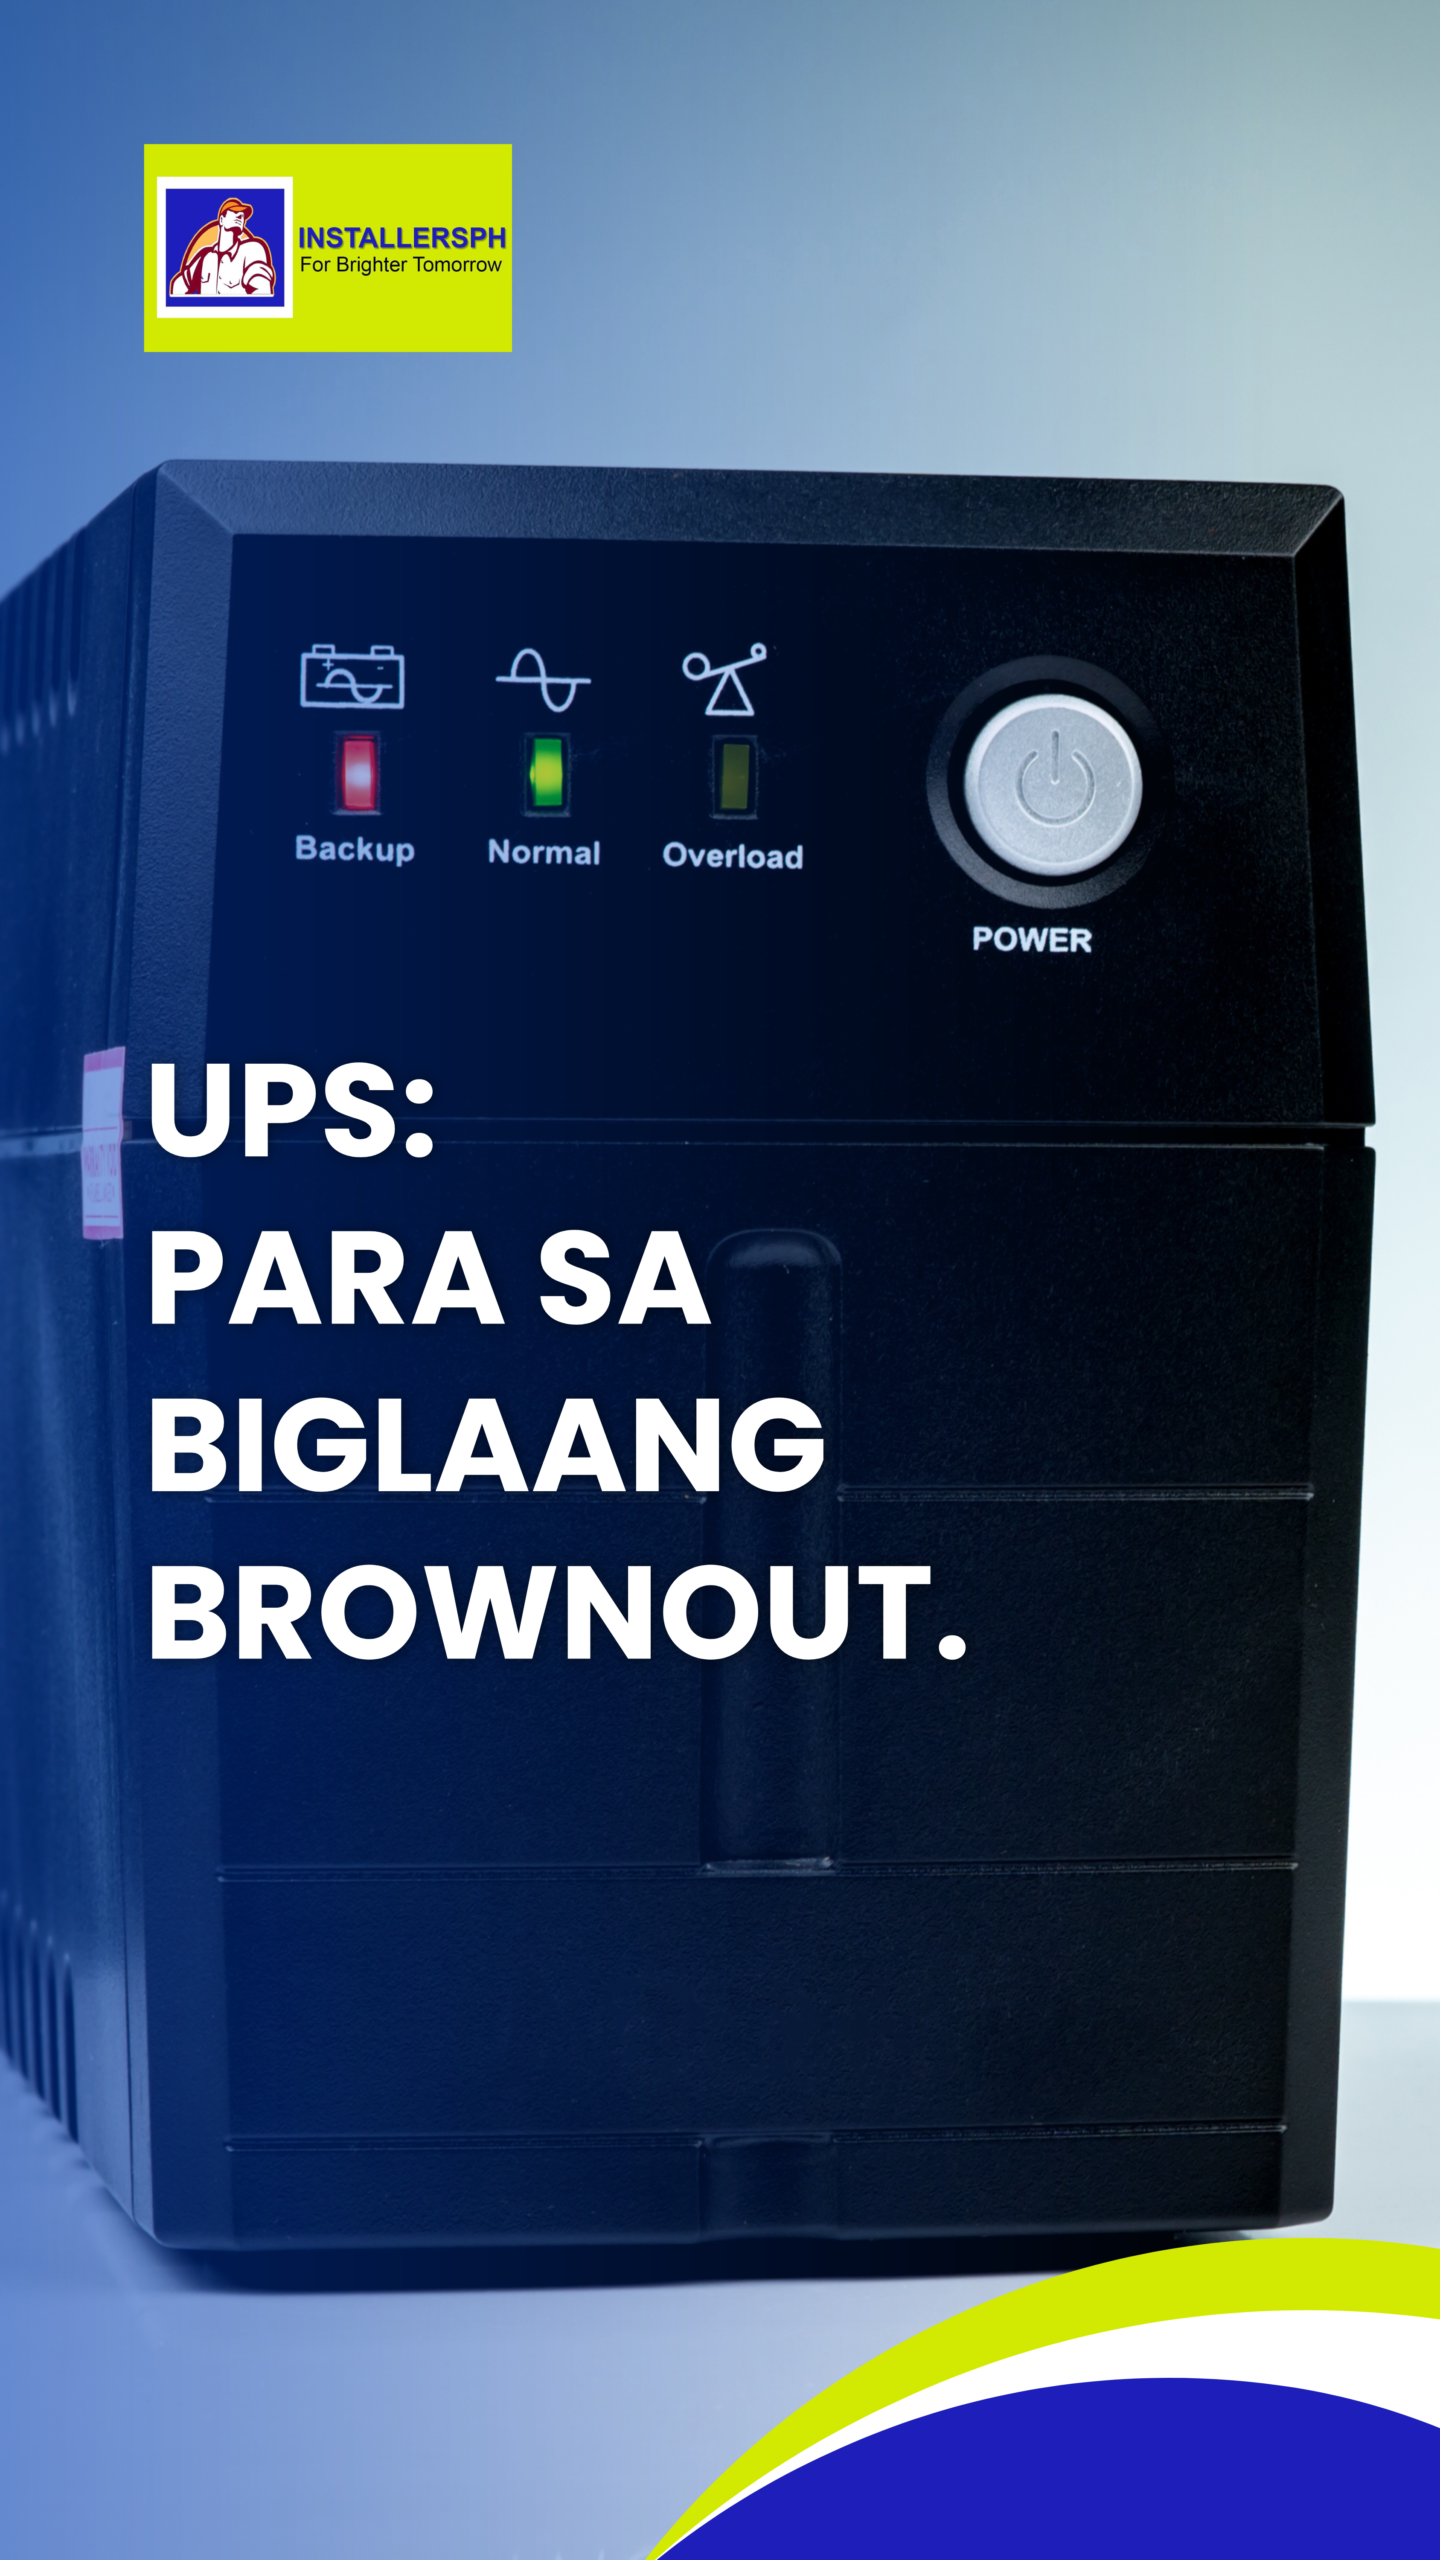
UPS: Para sa biglaang brownout. September 30, 2026 Carol Jhane Canitan Video. https://youtube.com/shorts/JGUg5XN3jZg Why a UPS Is Important for Your Computer During Power Interruptions. Introduction. Biglang nawalan ng kuryente habang may ginagawa …